Blender gives you exactly two theme choices: light… or dark. That’s it.
For software that can simulate oceans, sculpt dragons, and render entire films, that’s almost comically limited.
Fortunately, Blender's theming system is far more powerful than those two options suggest if you dig a little deeper.
This guide walks through three ways to give Blender your own look: manual editing through the Preferences panel, AI-assisted XML editing for faster results, and dynamic scripting with bpy. Finally we'll see how to access and share themes from/with the community through the official extensions marketplace.
What Is a Blender Theme?
A Blender theme is a configuration preference that controls the colors, shading, and visual style of the entire interface, from the background of the 3D viewport to the highlight color of a selected node in the shader editor. Themes don't affect rendering or functionality; they're purely cosmetic. But for people who spend hours a day inside Blender, a well-tuned theme can meaningfully reduce eye strain, reinforce a studio's visual identity, or simply make the workspace feel more like yours.
Themes are stored as XML files, which makes them easy to version-control, share, and edit outside of Blender itself; something we'll take full advantage of later.
Method 1: Manual Editing Through Preferences
The default way to customize your theme is through Blender's Preferences panel. You can open it via Edit → Preferences → Themes:
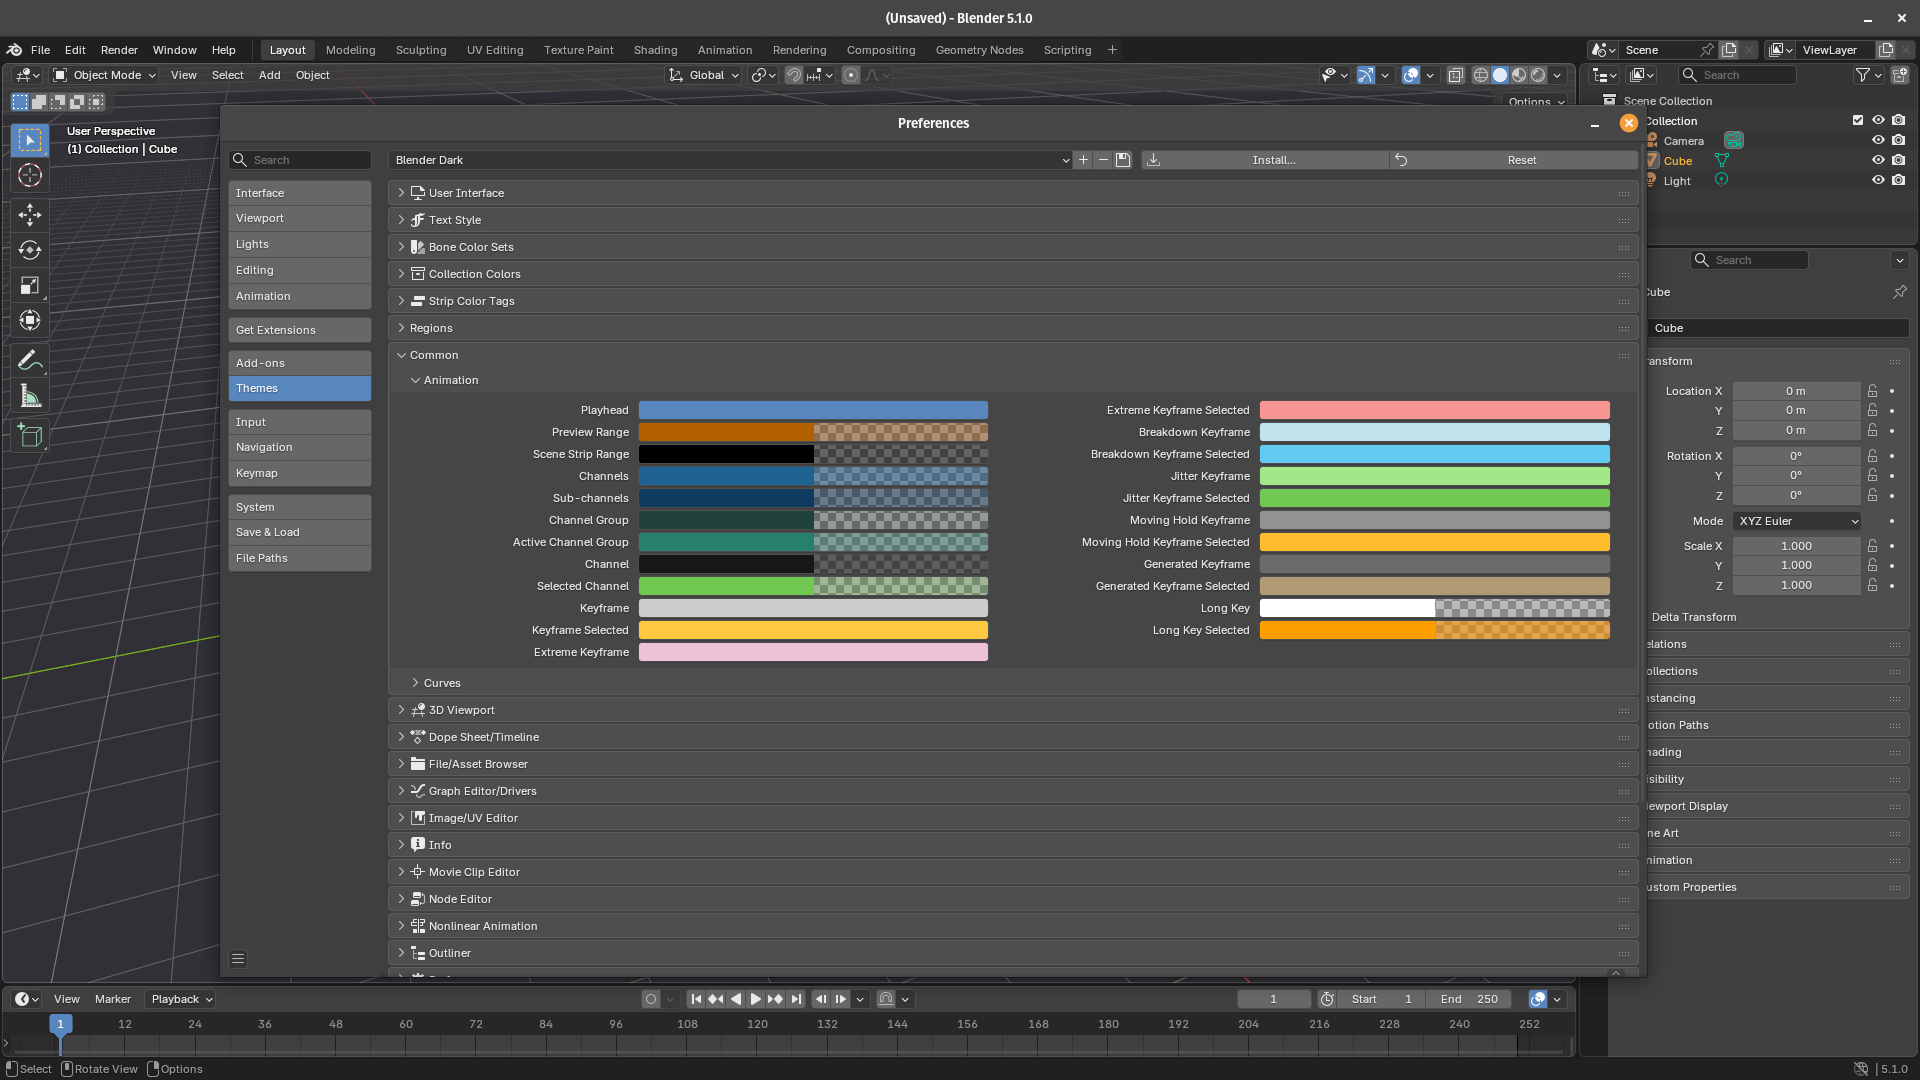
The Themes section exposes every color used across Blender's interface, organized by editor type: 3D Viewport, Node Editor, Timeline, Properties, and so on.
Each section has dozens of individual color swatches like text colors, background fills, selection highlights, widget states... You can click any swatch to open a color picker and change it in real time.
The Presets dropdown at the top lets you save and load named themes. Once you're happy with your changes, click the hamburger menu next to the preset name and choose Save as Preset. Blender writes your theme to an XML file in your user config directory, so it persists between sessions and can be backed up.
This method is ideal for small tweaks like adjusting a few colors without touching the rest of the theme. For more extensive customization, though, hunting through hundreds of individual swatches quickly becomes tedious.
Method 2: AI-Assisted XML Editing
If you want to make sweeping changes, say, rebuilding a theme around a brand's color palette, the manual approach quickly gets boring. A faster workflow is to export the theme as XML, edit it with an AI assistant, and re-import it:
- Create and save your starting theme. In Preferences → Themes, start from an existing preset (light or dark, whichever is closer to your goal) and give it a new name. Save it. Blender writes the theme to your configuration folder:
~/.config/blender/<YOUR BLENDER VERSION>/scripts/presets/interface_theme/<Your Theme Name>.xml
- Open the XML file. Navigate to that path and open the file in any text editor. It's a human-readable XML structure with attributes like
button,text,text_hi,header, andbackcorresponding to the color swatches you saw in Preferences. - Bring it to an AI. Copy the full XML content and paste it into a conversation with an AI assistant like Claude Code or ChatGPT. A prompt like the following gives good results:
"Customize this Blender theme to match CGWire's branding: use green as the primary highlight color and keep it in light mode."
The AI will modify the relevant color values throughout the file and return the updated XML. This is dramatically faster than clicking through hundreds of swatches manually.
- Reinstall the theme by pasting the edited XML back into the file at the same path, then in Blender, go to
Preferences → Themesand reload your preset. The changes will appear immediately. - Tweak manually. AI-generated theme edits are rarely perfect on the first pass. The model may miss some edge cases like unreadable text on certain backgrounds, inconsistent highlight states, or awkward contrast in a specific editor. Spend a few minutes testing the theme across different workspaces and fix any issues either manually in Preferences or by asking the AI for targeted corrections.
Here is the result we got on the first try. Notice how we need to tweak the topbar colors.
Method 3: Dynamic Editing via Python Script
For developers or technical artists who want to automate theme changes or build tools for others, Blender's Python API offers direct access to theme properties through bpy.
Here's a minimal example that sets the 3D Viewport background and the selection highlight color:
import bpy
theme = bpy.context.preferences.themes[0]
view3d = theme.view_3d
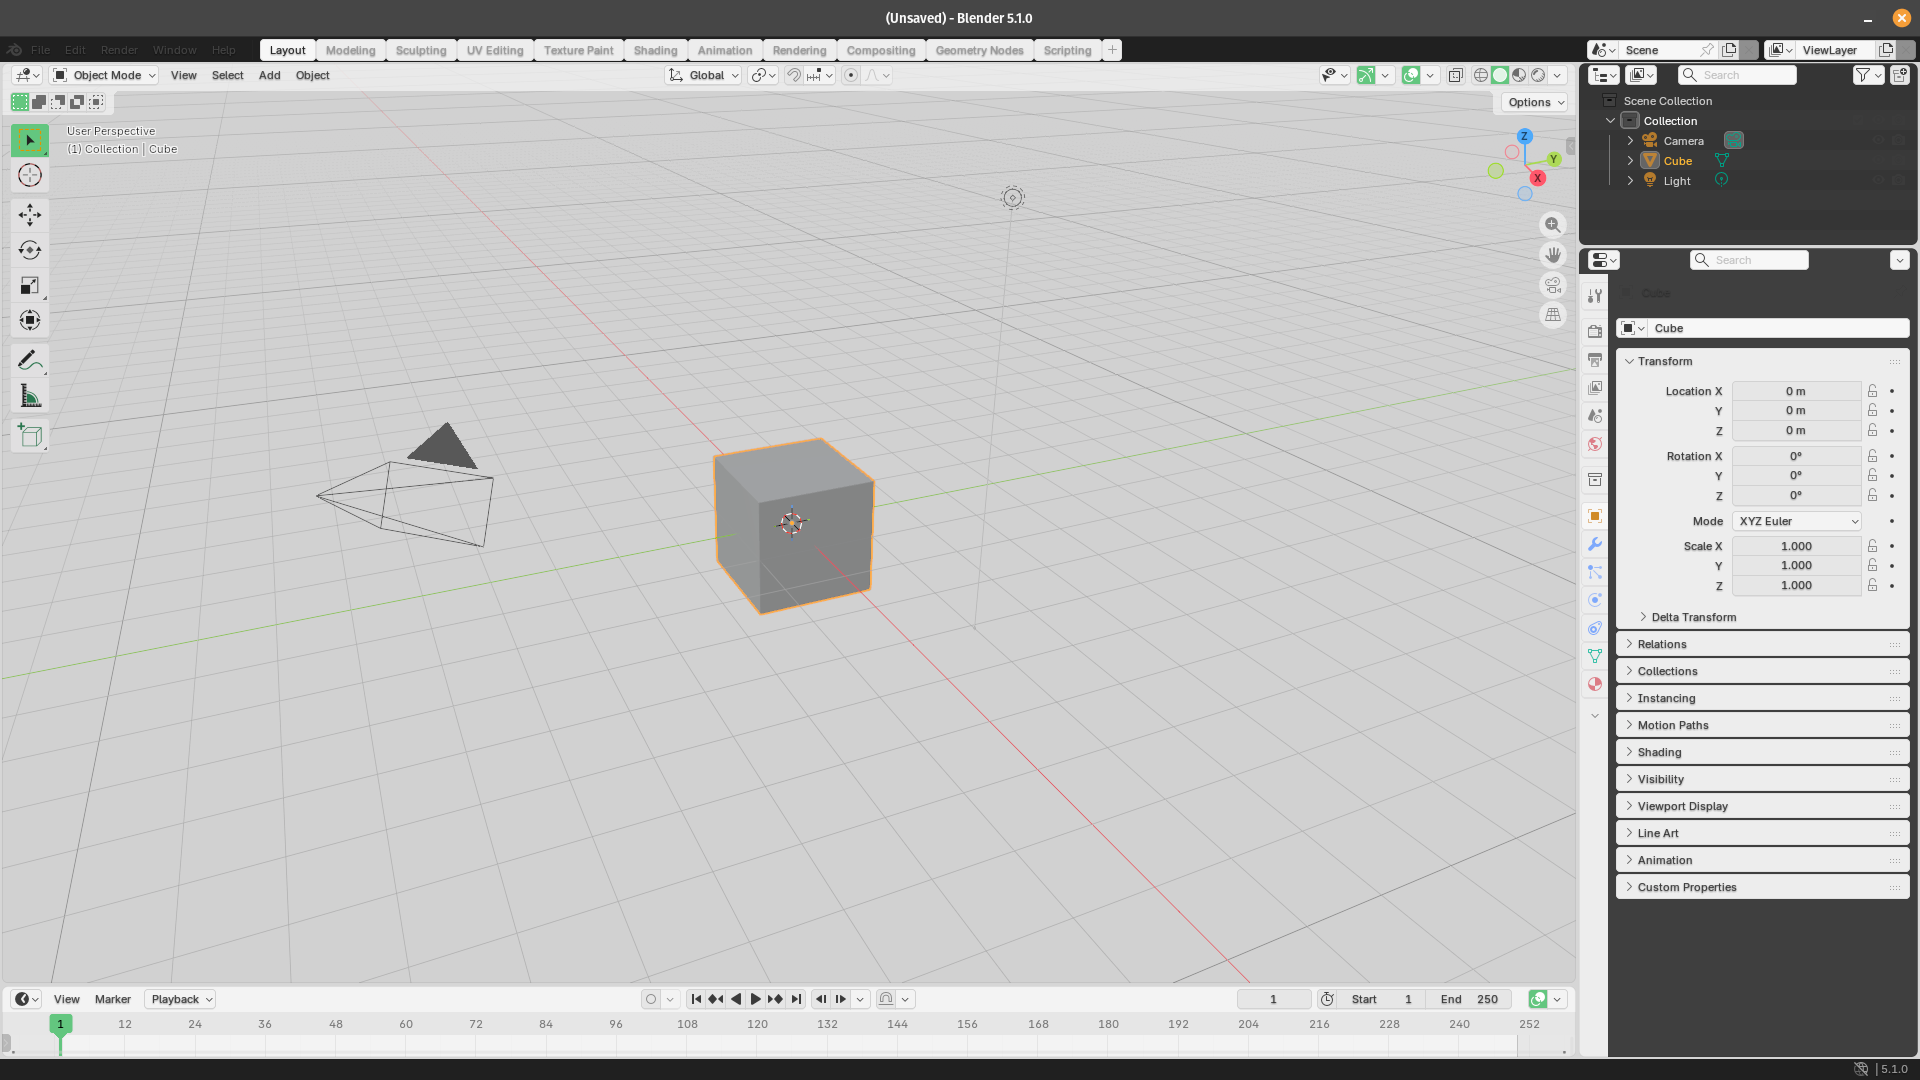
view3d.space.gradients.high_gradient = (0.12, 0.12, 0.14)
view3d.object_active = (0.2, 0.8, 0.4)
bpy.ops.wm.save_userpref()
The script accesses the current theme settings, specifically the 3D View (view_3d), then changes the background gradient color to a dark gray tone and sets the color of the active (selected) object to a greenish color before saving these changes to Blender’s user preferences so they persist across future sessions.
You can run this script from Blender's built-in Text Editor or pass it as a command-line argument with --python. This approach is particularly useful for studio pipelines, where you might want to programmatically enforce a consistent theme across many artists' workstations, or for addon developers who want their tool to ship with a matching visual style.
Every color swatch visible in Preferences has a corresponding bpy path. The easiest way to find the right attribute is to go to the Theme(bpy_struct) documentation page and find the corresponding category.
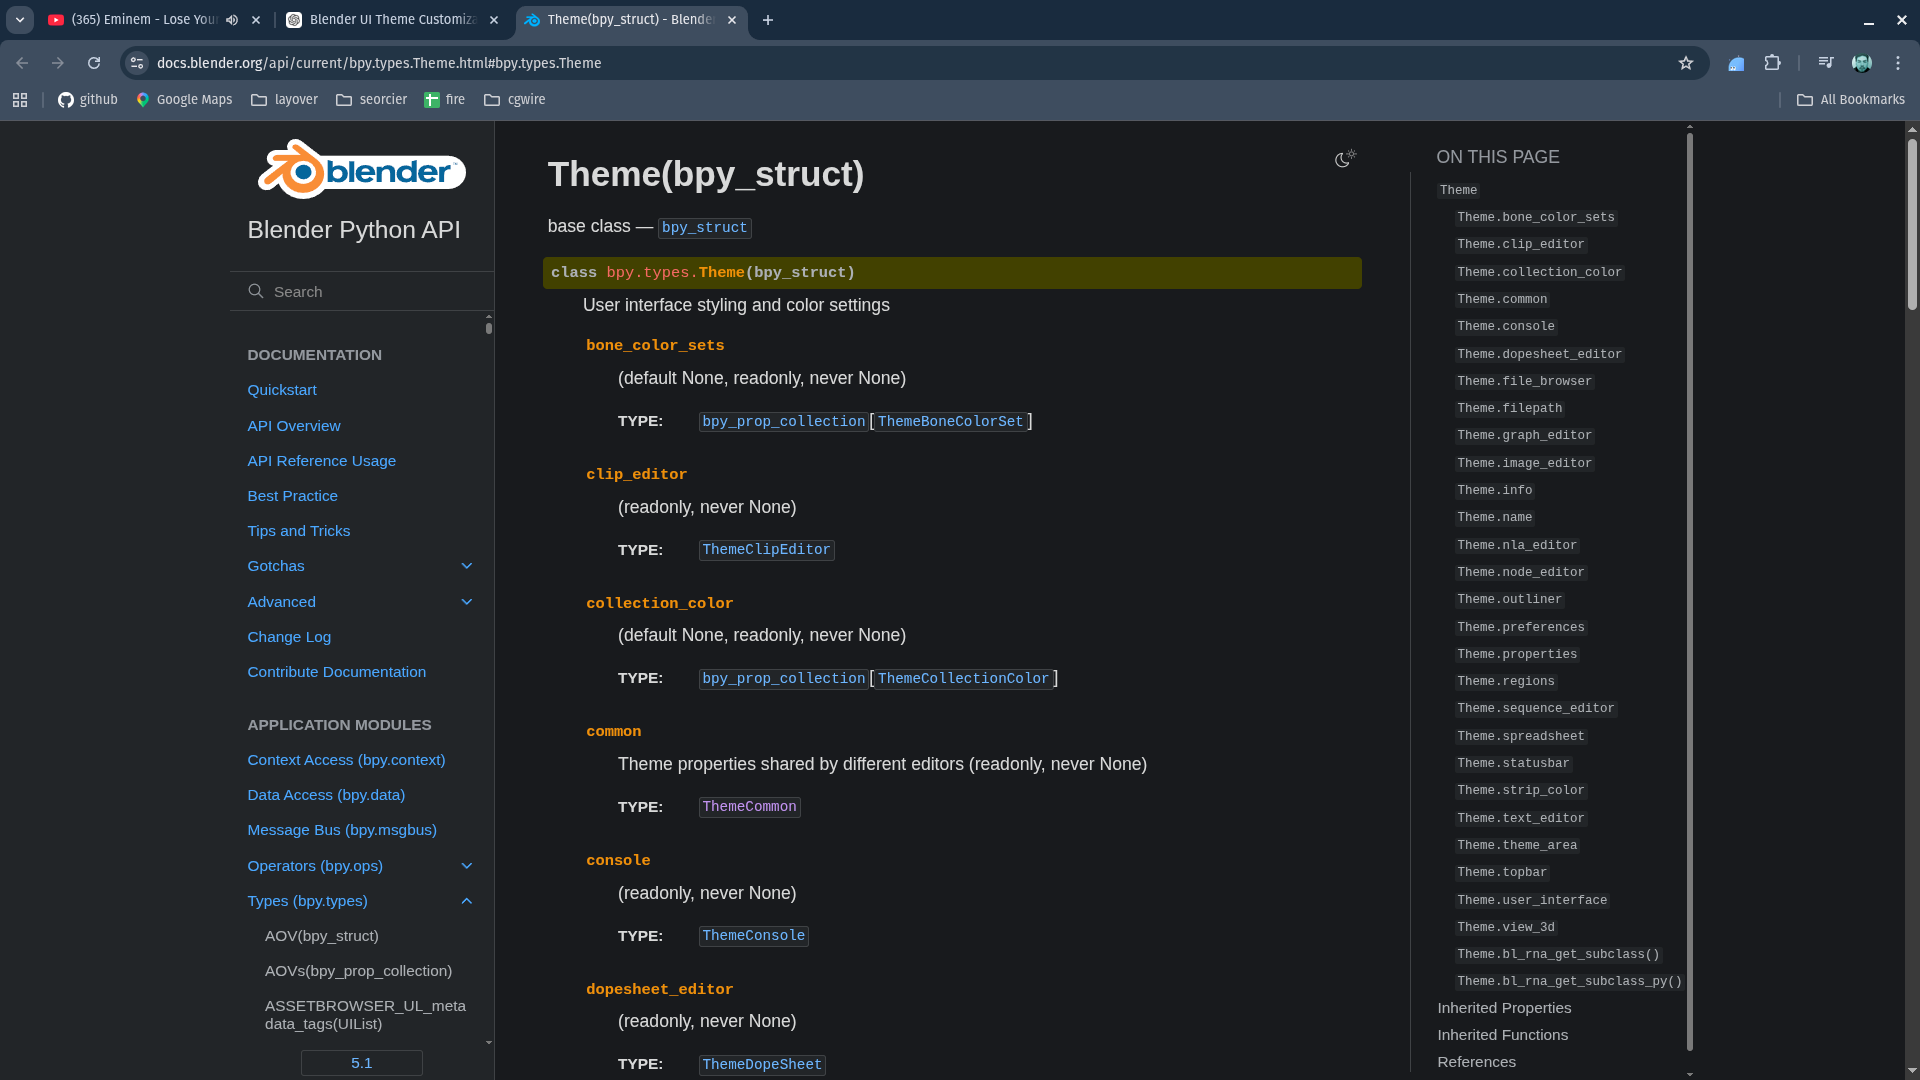
In 80% of cases though, the attribute path will match its snakecase path in the Preferences dialog: to change the color of the selected keyframe color in the animation tab (Common > Animation > Keyframe Selected), you'll find it in bpy.context.preferences.themes[0].common.anim.keyframe_selected.
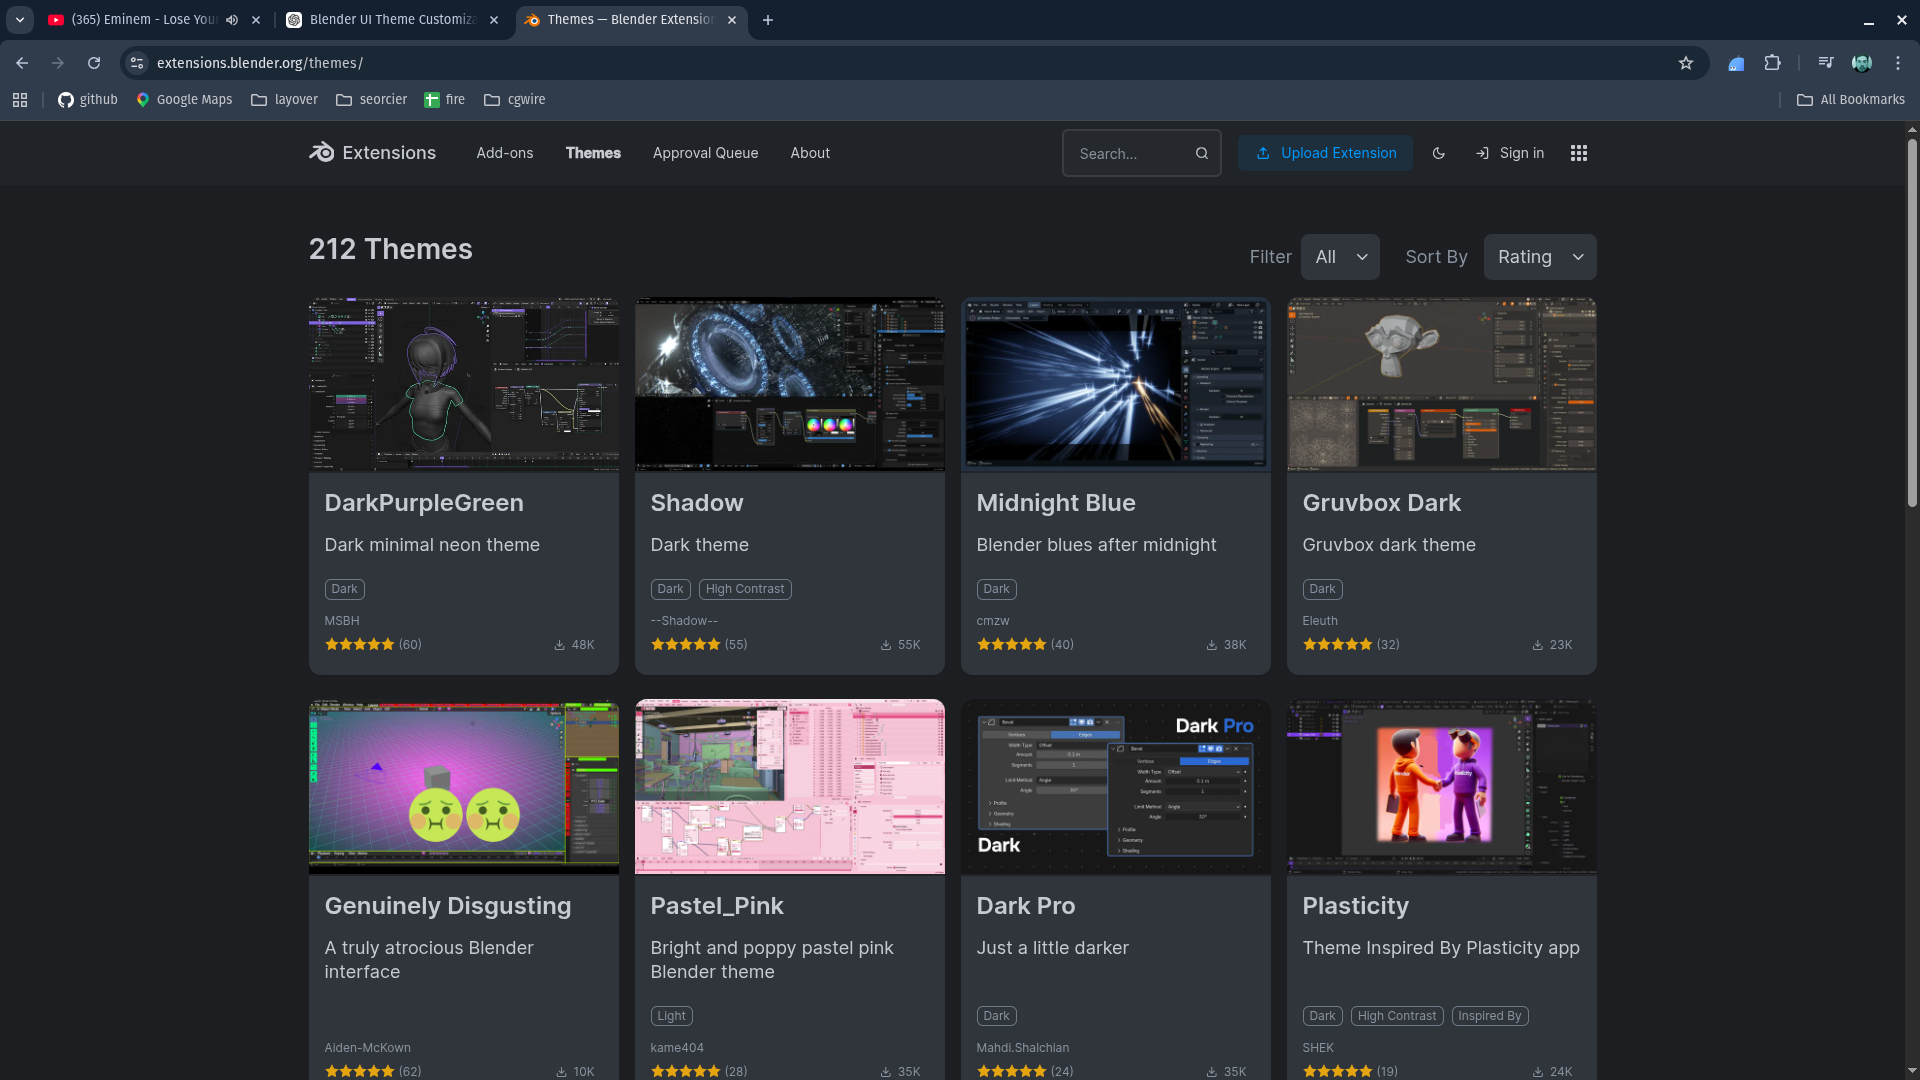
Sharing Your Theme
Once you've built something you're proud of, the Blender community can benefit from it. The official home for community themes is the Blender Extensions marketplace.
Before uploading, your theme needs to be structured as a Blender extension: a folder containing the theme XML and a blender_manifest.toml file. The manifest declares metadata like the extension name, version, author, and minimum Blender version. Check The full specification for creating extensions in the dedicated manial page.
A typical theme extension folder looks like this:
my_theme/
├── blender_manifest.toml
└── my_theme.xml
Once your folder is archived (.zip), go to the Blender Extensions site, log in, and click Upload Extension. Fill out the listing details like a description, preview screenshots, and any relevant tags to help your theme get discovered.
Submissions go through a review queue before they're publicly listed to check for basic quality standards and ensure the extension is safe to install. Turnaround time varies, so don't be alarmed if your theme doesn't appear immediately.
Alternatively, you can just send the folder to a contact and click on the Install Theme button in Blender to install it manually.
Conclusion
Blender's theme system is a hidden gem that most users never dare to explore, maybe because it looks complex or time-consuming, or maybe because XML is intimidating.
But whether you're making a small personal tweak through the Preferences panel, changing the entire color palette with AI assistance, scripting dynamic changes through bpy, or retrieving a theme from the community, there's a workflow that will fit your desired effort level! You can tweak a few colors and move on. Or you can rip the whole thing apart, rebuild it around your taste, your brand, your workflow, and even automate it.
The two default presets are just the starting point. You can start now and get good results in 5 minutes. With a bit more effort, your Blender can look exactly the way you want it to.