When was the last time you almost missed a deadline because of rendering?
Every time you open Blender, your workstation sounds like a jet engine preparing for takeoff, and your entire film worth months of work is held hostage by a single progress bar.
Meanwhile, your old college laptop sits in a box gathering dust. It's not a powerhouse, but it has a GPU. It has RAM. It's a perfectly functional computer doing absolutely nothing while you panic.
The concept of a "render farm" can sound intimidating to one-person studios. You might imagine server racks in a chilled room, expensive licenses, and IT professionals shouting about IP addresses.
But in the modern Blender ecosystem, that's no longer the reality.
In this article, I'm going to walk you through how to turn old devices into a unified rendering system using Flamenco. We will demystify the network setup and get you rendering on multiple machines in a few hours.
Why Self-Host a Render Farm?
Before we start plugging in Ethernet cables, let's talk about why you should bother. You might think, "Why not just send everything to a cloud farm?" Cloud farms are amazing, but having a local, self-hosted render farm changes your workflow in three fundamental ways.
When you pay for a cloud farm, you are paying for the final output. This psychologically discourages you from test rendering. You become afraid to hit "Render" until you are 100% sure everything is perfect.
When you own the farm, the cost of a render is electricity. You can render a rough animation at 50% resolution just to check the timing or lighting. This freedom allows you to iterate faster. You stop guessing and start testing.
Sometimes, working on a commercial project for a tech client with an NDA is so strict you aren't allowed to even whisper the product name. Uploading those assets to a third-party cloud server - even a secure one - can sometimes violate strict NDA contracts. Keeping your data on your local network (LAN) ensures that no pixels leave your studio until you say so.
There is a specific kind of agony in uploading a 2GB project file to the cloud, waiting for it to render, downloading the frames, and realizing you left a physics cache unbaked. With a local farm like Flamenco, if you spot a mistake, you just hit "Cancel," fix it, and hit "Render" again. No upload times, no download times. It feels like an extension of your workstation.
What is Blender Flamenco?
Setting up a render farm from scratch used to involve complex scripting or expensive third-party software. Now, we have Blender Flamenco.
Flamenco is Blender's open-source render farm. It's extremely easy to setup: the manager is the brain holding the list of tasks (frames to render) and tells the other computers what to do. The workers are your extra laptops or desktops. They listen to the Manager, ask for a frame, render it, save it, and ask for another.
Flamenco is designed to be zero-config. It practically discovers itself on your network. If you can install Blender, you can set up Flamenco.
1. The Setup
For this tutorial, we start with the simplest configuration possible with our desktop computer acting both as manager and worker. We'll later see how to add our laptop.
- Install Blender - Ensure your computer has Blender installed.
- Download Flamenco - Go to the Flamenco website and download the package for your OS. Extract it to a folder.
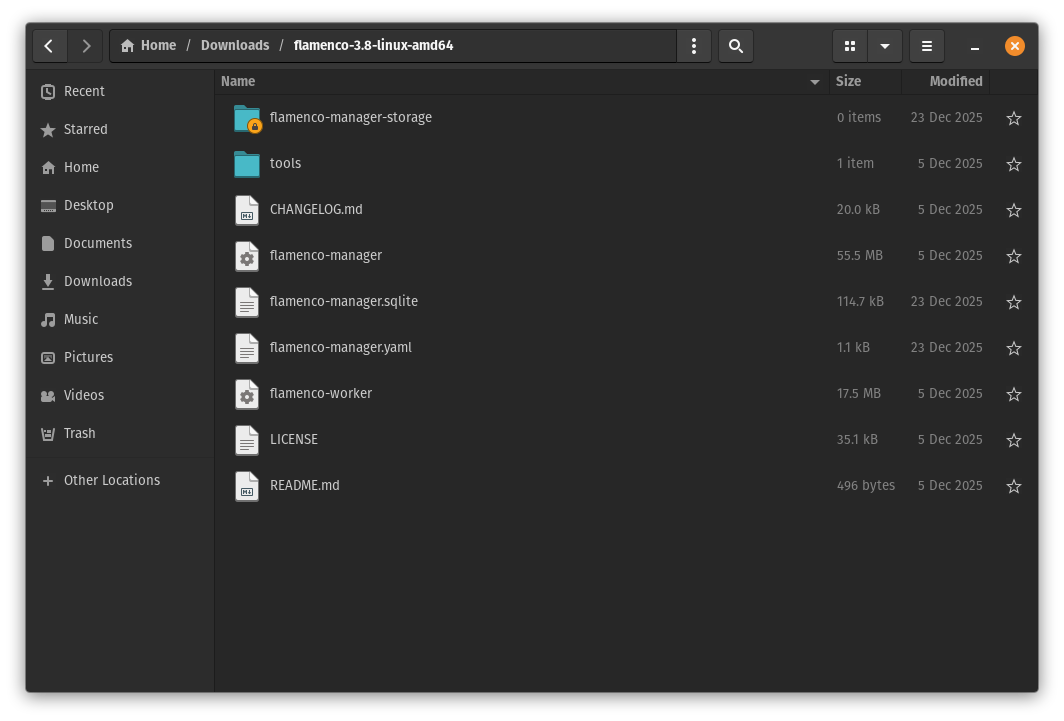
2. Run Flamenco Manager
- Open the Flamenco folder you extracted.
- Double-click
flamenco-manager. - A terminal window will pop up with some text logs.
- Go through the configuration wizard to set up the job folder where you'll upload your blend files to render.
- Shortly after, your web browser should open automatically to
http://localhost:8080. This is the Flamenco web interface.
If you see a friendly, dark-themed dashboard, congratulations. You are half a server admin already. The Manager is alive.

The manager will tell you to download the addon. Do it now as we'll need it for step 4.
3. The Worker
Now, leave the manager running and double-click flamenco-worker.
That's it.
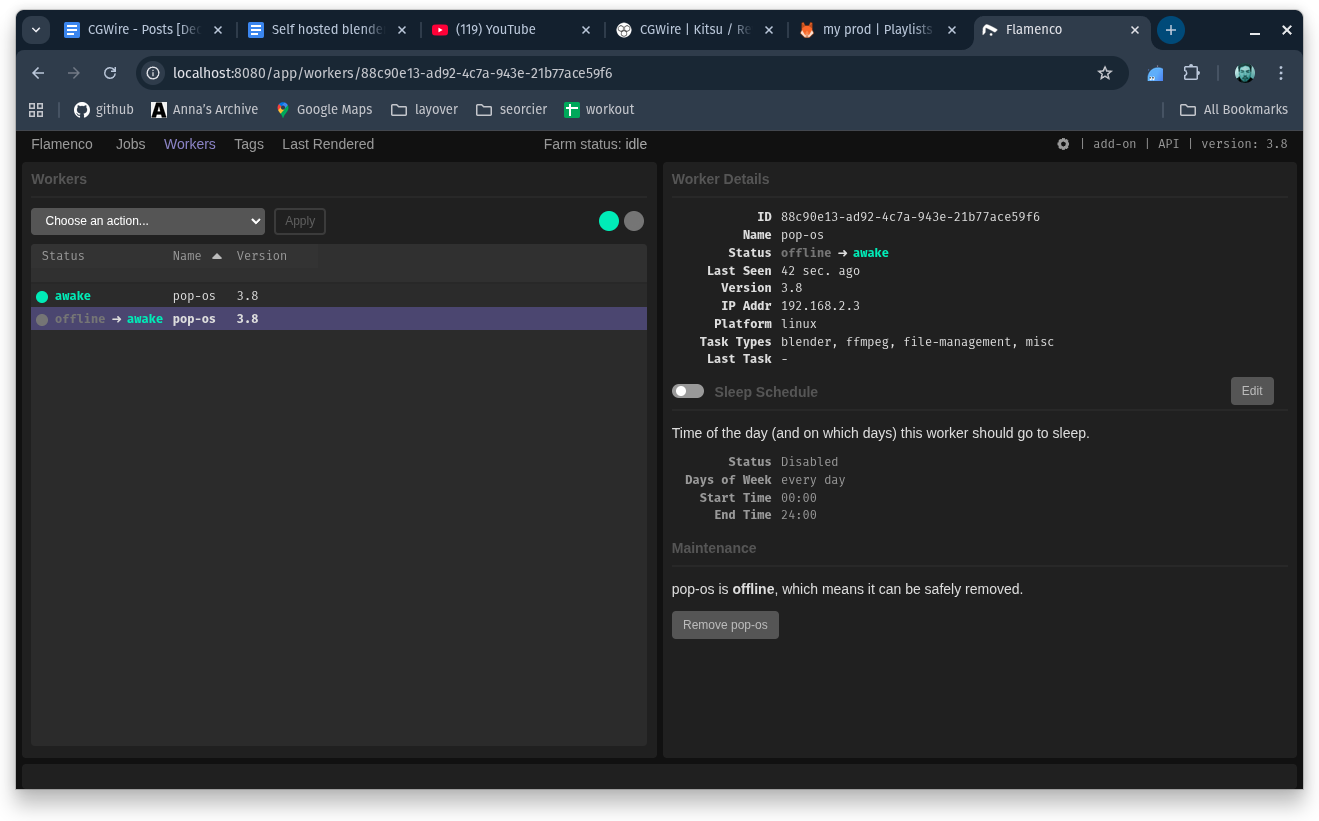
The Worker will scan your local network, find the Manager running on the same computer, and introduce itself. If you look back at your Desktop's web browser (the Manager interface), you should see it appear in the "Workers" tab, listed as "Idle" and ready for duty.
You should also run flamenco-worker on your Desktop! Your main computer can render and manage at the same time.
4. Add the Blend File and Render
The stage is set. Now, we can get to work!
- Open Blender on your Desktop.
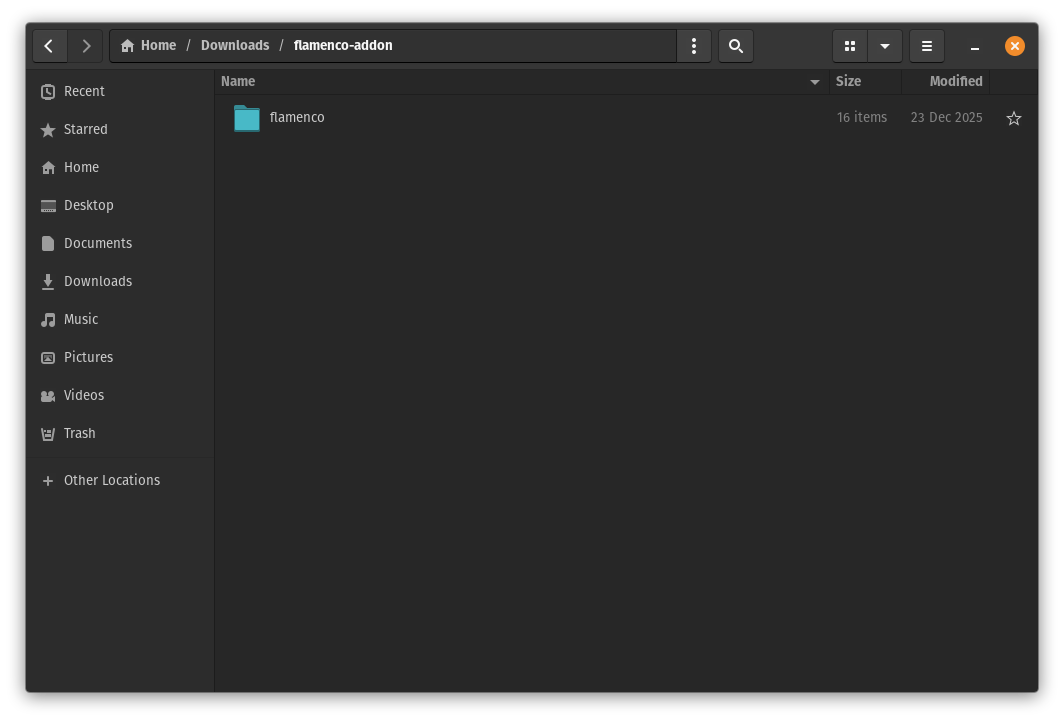
- Enable the Addon - Go to Edit > Preferences > Add-ons > Install from Disk. Search for the flamenco zip file you downloaded during the manager setup.
- Link the Manager - In the Flamenco add-on preferences, copy/paste the manager's URL address.
- Save Your File - Save your
.blendfile in the configured job folder.
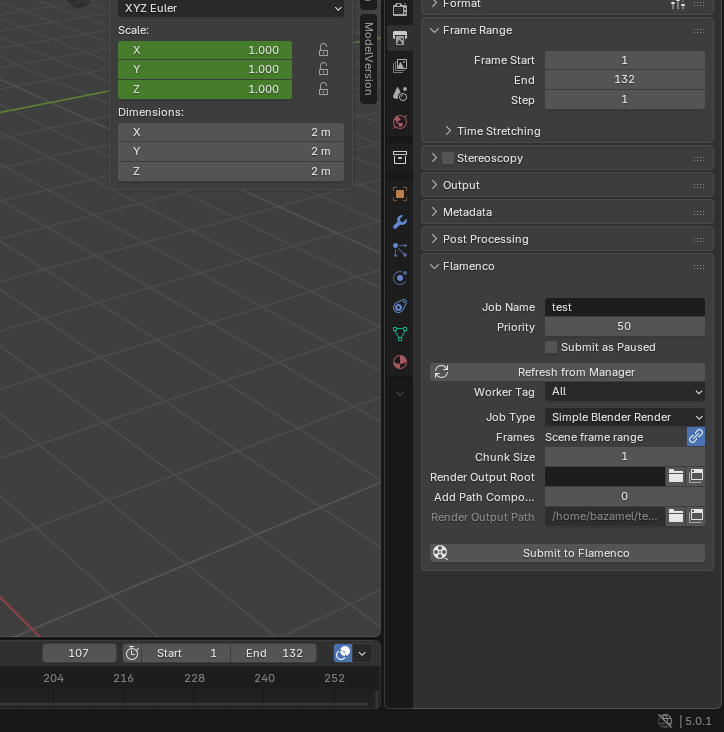
In the Render Properties tab in Blender, scroll down to the Flamenco panel.
- Click "Fetch Job Types".
- Select "Simple Render".
- Hit "Submit to Flamenco".
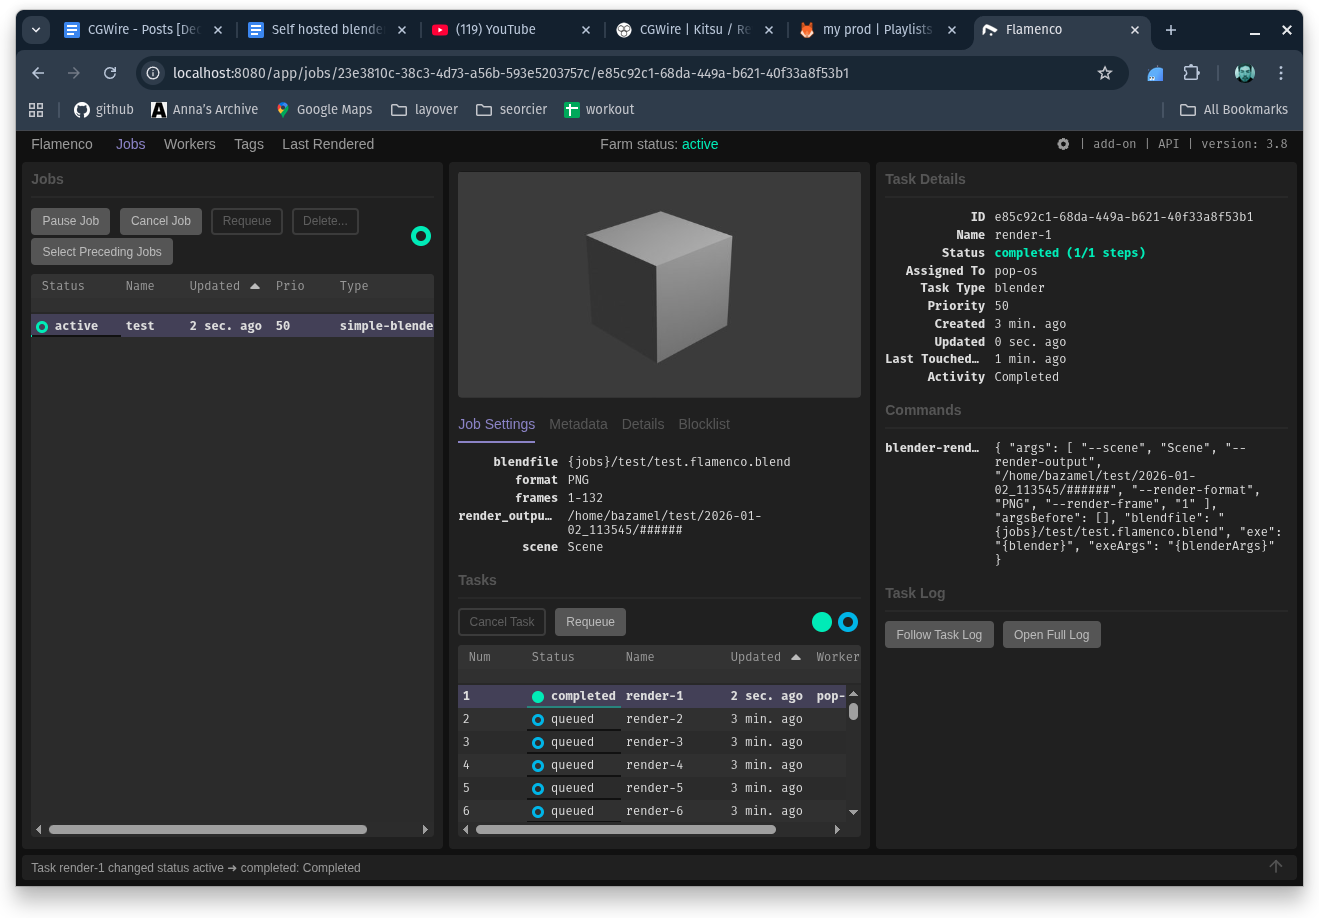
Now, tab over to your web browser. You will see the job pop up. The status bars on your "Workers" list will turn green. Your Desktop will grab one frame to render at a time.
5. Bringing in the Laptop
Now, to add your dusty laptop to the farm.
Here is the single most actionable piece of advice I can give you, and it is where 90% of beginners fail: All computers must see the files in the exact same place.
If your texture is located at C:\Users\Dave\Texture.png on your desktop, your laptop cannot access that path. The laptop doesn't have a user named Dave, and it doesn't have the file on its C drive.
You need a shared network folder, typically through a NAS. Depending on your operating system, the steps are similar but will slightly differ:
- Connect your desktop and laptop via Ethernet cable
- Create a NAS folder on your Desktop called
RenderFarm. - Right-click it > Properties > Sharing > Share. Give read/write permission to your user.
- Map the Network Drive: On your Desktop, map this folder to a drive letter, say
Z:. On your Laptop, navigate to the Desktop's network share and map it to **the same letterZ:**.
Now, when you save your Blender file to Z:\RenderFarm\MyProject.blend, both computers see it at Z:\RenderFarm\MyProject.blend. The path is absolute and identical.
Now, leave the Desktop running and move over to Computer B (Laptop).
- Make sure your
Z:drive (or whatever shared storage you set up) is accessible. Open a file inside it just to be sure. - Install and open the Flamenco folder on the laptop.
- Make sure you have the same Blender version installed as the one on your desktop.
- Double-click
flamenco-worker.
That's it.
The Worker will scan your local network and find the Manager running on the Desktop.

Flamenco will now automatically orchestrate jobs between your computers.
If you do not have access to a NAS or do not wish to purchase one, you can have a look at installing a free Samba server on a Linux workstation. Using cloud storage isn't possible because Flamenco doesn't handle asynchronous services, unless you create your own custom job type. We'll see how to do that in a future article, using Kitsu as an asynchronous asset storage server.
Conclusion: Knowing When to Scale
We have covered the hardware setup, the crucial shared storage logic, and the software installation. If you have followed along, you have a functioning render farm in your house and your dusty laptop is now a productive member of your team.
Flamenco makes the barrier to entry for self-hosted rendering incredibly low. It respects your privacy, costs nothing but electricity, and allows you to squeeze every ounce of performance out of the hardware you already own.
But there is a limit on what you can achieve by yourself.
Eventually, you will hit a deadline where even your Desktop + Laptop combo isn't enough. Maybe you need to render a 4K sequence with heavy volumetrics in 24 hours and your home farm estimates a completion time of 3 weeks. This is the ceiling of self-hosting.
When you hit this wall, you don't need to buy five more computers. That's when you transition to a service like Ranch Computing that allows you to access hundreds of CPU/GPU nodes instantly. Your home farm is a great daily driver that's perfect for tests, previews, and lighter projects, while a cloud render farm is invaluable for quickly rendering high-quality deliverables to your clients.