Blender rendering is the process of generating image or video output files from 3D scenes created in Blender. Rendering is a highly resource-intensive task because you need to simulate complex physics like light, materials, and other visual elements to produce a realistic result. And because a rendering mistake has a direct impact on the project, you need to understand the process well enough to match your technical requirements. At scale, rendering becomes even more challenging, to the point where it’s best outsourced to third-party providers who can offer better hardware.
For all these reasons, this article is a must-read if you want to optimize your rendering process: learn how to do basic rendering in Blender, choose a rendering engine, and scale as your animation studio grows!
At CGWire, we’ve been working within the Blender ecosystem since before our creation in 2018, so we’re familiar with the challenges brought by the rendering stage. Make sure to share this article with your teammates to help optimize your studio’s workflow!
How To Render Animation In Blender
Rendering in Blender, no matter the input follows the same steps:
- Set up your scene - Design your 3D models, set up lighting, camera angles, and any other elements you want to include in your animation.
- Set your render settings - Navigate to the Rendering tab. Adjust the output resolution, frame range, frame rate, and other settings according to your requirements.
- Configure the output format - In the Output Properties section of the Rendering tab, choose the output format for your animation. You can select image sequences (e.g., PNG, JPEG) or video formats (e.g., MP4, AVI). Specify the output path where Blender will save the rendered frames or video.
- Choose the rendering engine - Blender offers two rendering engines: Cycles and Eevee. Cycles provides realistic, physically-based rendering, while Eevee is a real-time engine suitable for quicker previews. Select the desired engine from the Render Engine drop-down menu in the Render Properties section.
- Check the animation playback - Use the Play button in the Timeline or Dope Sheet editor to preview your animation. Ensure that everything is moving as intended and make any necessary adjustments.
- Start rendering - Once you are satisfied with your scene and animation, click the Render Animation button in the Render tab. Blender will start rendering each frame based on your settings. The rendering time will depend on the complexity of your scene, the chosen rendering engine, and your computer's performance.
- Monitor the progress - You can monitor the progress of the rendering in the status bar at the top of the Blender interface. It will display the current frame being rendered and the estimated time remaining.
- Save and review the output - Once the rendering is complete, Blender will save the rendered frames or video to the specified output path. You can then review the animation to ensure it meets your expectations.
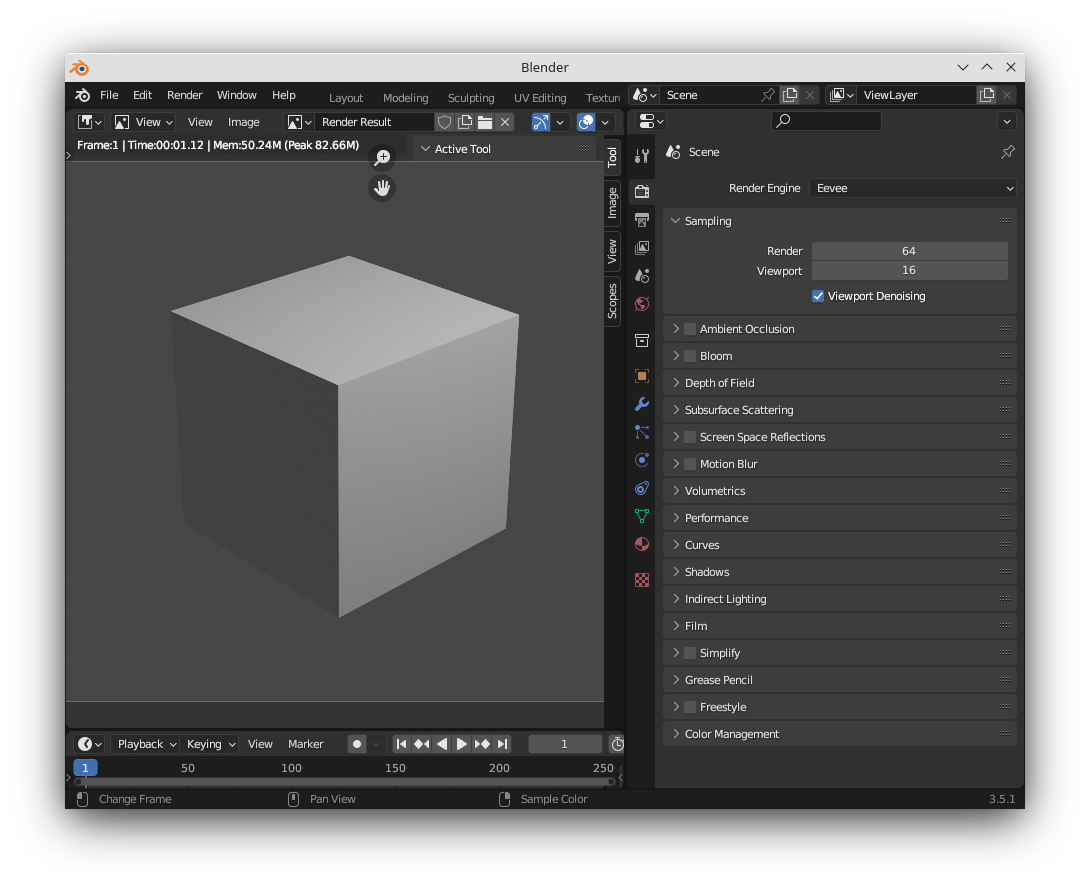
The rendering tab looks like this:
Depending on your project’s requirements or what you want to do with the renders, you’ll need to dive into more advanced features.
Blender Rendering Engines: Eevee vs Cycles
Eevee and Cycles are two rendering engines available in Blender with several differences in terms of features and use cases.
As always, the choice between Eevee and Cycles depends on your specific project requirements: if you need speed, interactivity, and real-time rendering, Eevee is an excellent choice for previews for example. But if you aim for high-quality, physically accurate renders to use in production, Cycles is the recommended option.
Of course, you aren’t forced to use one or the other throughout the whole project’s duration. You can combine each engine’s pros and cons to make the most of them:
- Rendering Speed - Eevee is a real-time rendering engine designed for fast rendering and interactivity. It utilizes your computer's GPU (Graphics Processing Unit) to deliver quick previews and animations. On the other hand, Cycles is a path-tracing engine that focuses on producing realistic and physically accurate renders that generally take longer to render.
- Output quality - Cycles is known for its ability to generate highly realistic images with accurate lighting, shadows, and reflections. It employs ray tracing techniques, which simulate the path of light rays as they interact with objects in the scene. Eevee, although not physically accurate like Cycles, can still produce impressive results with real-time shadows, reflections, and ambient occlusion.
- GPU vs CPU Rendering - While both engines can use GPU rendering, Eevee is designed explicitly for GPU acceleration and performs exceptionally well with compatible graphics cards. Cycles can use both CPU (Central Processing Unit) and GPU rendering but generally performs better with CPU rendering and complex scenes.
- Workflow and Interactivity - Eevee provides real-time feedback, allowing you to quickly iterate and make adjustments to your scene without waiting for lengthy renders. It's ideal for collaborative workflows with fast iteration loops like the one you can find in the animation industry. Cycles, although slower, is well-suited for final renders and achieving photorealistic results.
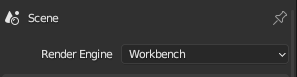
Use Viewport Render (Workbench engine) For Storyboarding
In the situation where you just want to quickly share snapshots of a scene for feedback, rendering is overkill. The Viewport Render mode provides a quick and interactive way to preview your scene without the need for a separate render. The viewport render isn’t as accurate as a final render, but it saves precious resources and only takes 5 simple steps:
- Open your 3D scene in Blender
- Navigate to the area where you want to display the rendered view. By default, this is the 3D Viewport.
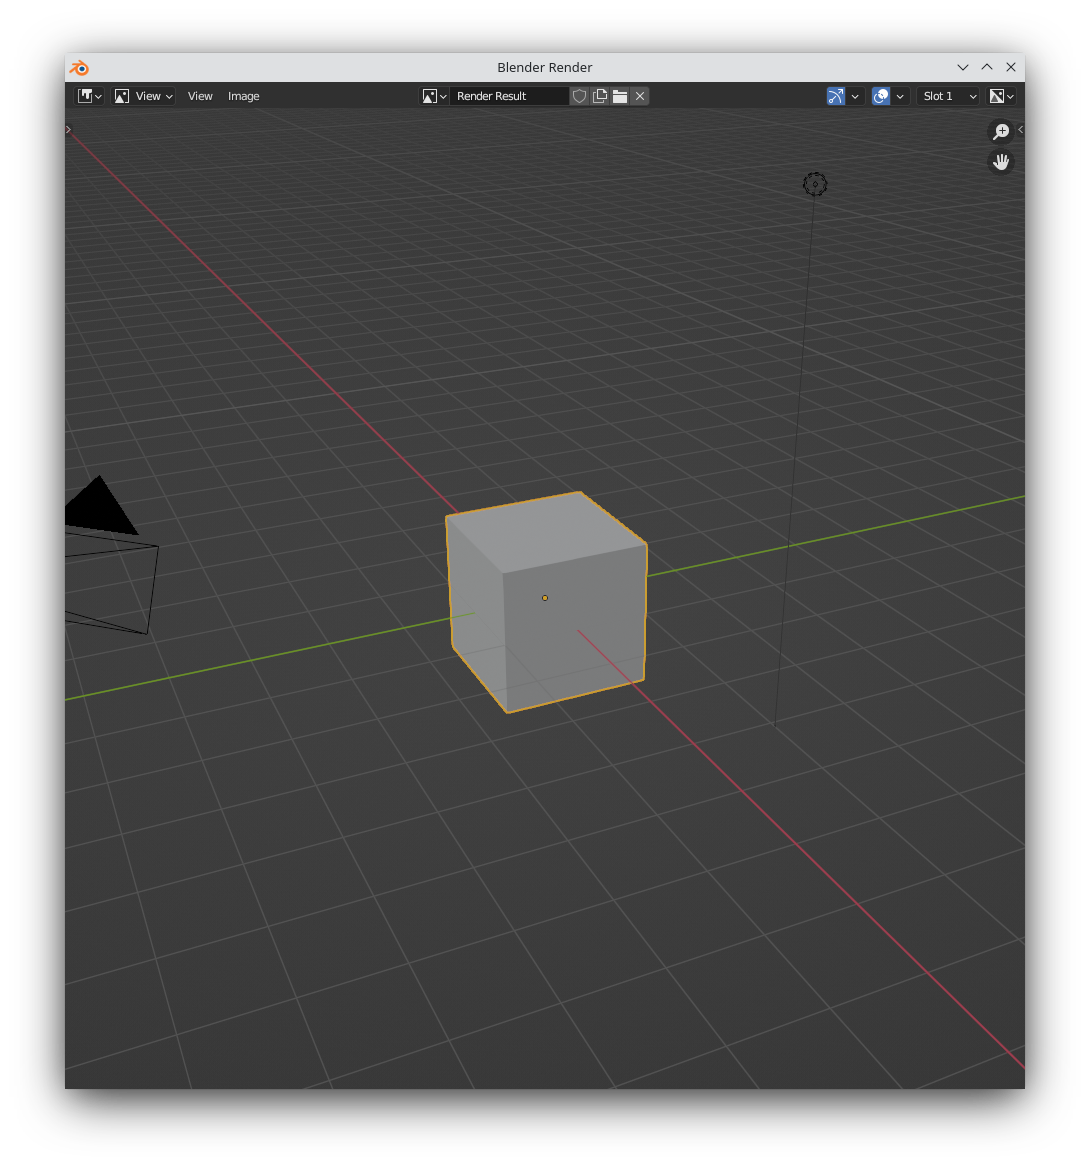
- In the top-right corner of the 3D Viewport, click on View then Viewport Render Animation
- Blender will start rendering the view in real time, using either the Workbench engine or the Eevee rendering engine. You will see the scene with materials, lighting, shadows, and other effects. The rendering will update in real time as you make changes to the scene, providing immediate feedback.
While in the Viewport Render mode, you can navigate around the scene, manipulate objects, adjust lighting, and make other changes. The viewport will update the render accordingly, allowing you to preview the changes instantly.
To exit the Viewport Render mode and return to the regular 3D Viewport, click on the dropdown menu in the top-right corner and select another shading mode, such as Solid, Wireframe, or Material Preview.
Using A Blender Rendering Farm
Using a rendering farm for Blender rendering brings several benefits. First, rendering your 3D models on your own machine is time-consuming and limited by your processing power. A render farm provides a solution by lending additional power, allowing your projects to be rendered in just minutes instead of weeks.
Building your own render farm is not always a viable option because of how expensive it is: you’ll need costly hardware, hours spent configuring and maintaining it, and your electricity bills will grow. If you have a Render Wrangler on your team, it may be efficient because he will take full advantage of it. But in most cases, with a render farm service, it will be much easier to manage. You can scale up or down as needed without managing servers. Simply log in, upload your assets, and enjoy the simplicity.
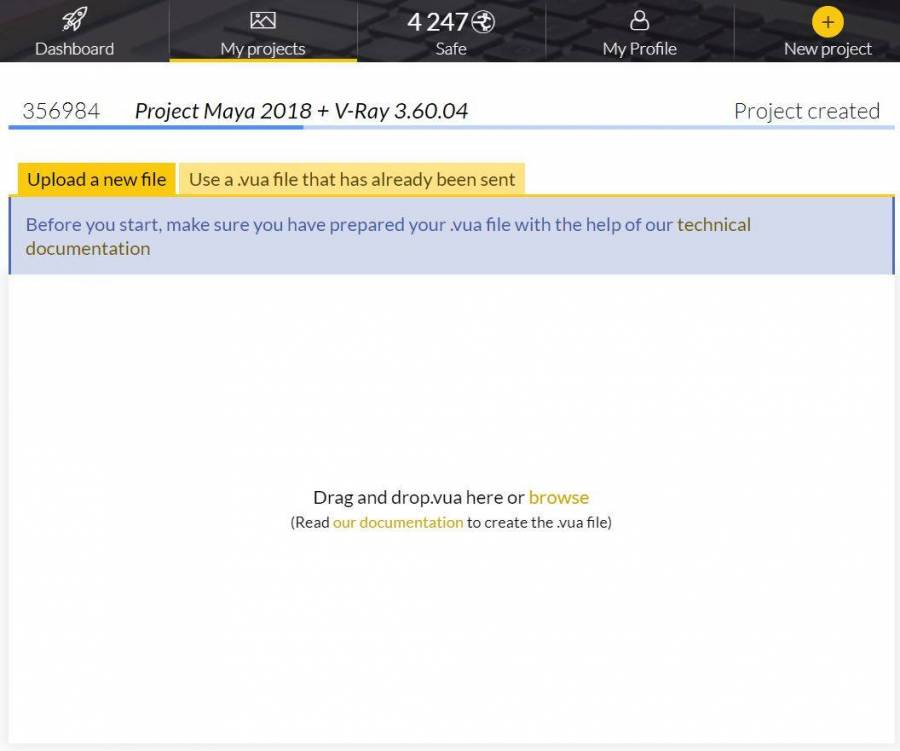
You can then download the rendered frames as soon as they are ready:
Not only does a render farm accelerate processing time, but it also increases rendering quality. You can just pick resolution settings to meet project requirements and get done with it. As the demand for more realistic 3D models increases, a render farm often becomes essential to keep rendering time low and stay competitive.
Check out our dedicated article to learn more about our rendering farm partner Ranch Computing.
Using Kitsu To Keep Track Of Your Renders
In an animation production with hundreds of assets to manage, rendering is no easy task. Instead of rendering each asset / animation one by one, you can use Kitsu Publisher to automatically share a preview for collaborative work without leaving your favorite digital content creation (DCC) tool―be it Blender, Unreal Engine 5, or Harmony.
Kitsu is a collaboration platform for animation studios to share the progress of their productions and validate deliveries. The Kitsu Publisher is a desktop application that connects DCC tools to Kitsu to automatically send render previews to your Kitsu workspace. All you need to do is install Kitsu Publisher and add it as a Blender plugin in a few minutes. You can read the official documentation to get detailed steps depending on which operating system you use.
Not only does it allow you to skip the rendering task altogether if you just want to share previews to collect feedback, but it’s also a precious communication tool to keep track of all the assets you need to (re-)render for production and how to prioritize rendering tasks according to your teammates’ needs: no more back-and-forth and endless meetings!
Blender also has an official Kitsu plugin to interact with Kitsu from within Blender, including features like rendering snapshots and thumbnails.
Conclusion
In conclusion, rendering with Blender offers a powerful way to bring your 3D scenes to life. While the multitude of options may initially seem overwhelming, it's important to remember that simplicity is key when starting out. Pick the most straightforward option and improve as you go!
As the demand for collaboration and efficient workflow grows, it's crucial to explore alternative rendering methods. Moreover, it's a complex task that requires advanced skills at some point. That's why we encourage you to join our Discord community made of pipeline and production experts!