If you work in animation or video production, you have already met FFmpeg.
Despite being open-source and used by giants like YouTube, Blender, and DaVinci Resolve, FFmpeg often stays hidden in the background and few artists are aware of its worth.
In this guide, we’ll walk through 10 practical FFmpeg commands every animator or pipeline artist should know to save hours of manual work.
What's FFmpeg?
FFmpeg is a powerful open-source command line toolkit for working with video, audio, and image data. It’s not a single program, rather a suite of tools that handle nearly every kind of media processing task imaginable:
- Convert between almost any video, audio, or image format.
- Assemble image sequences into movies (and vice versa).
- Compress or transcode large files for reviews or uploads.
- Filters: crop, scale, color adjust, overlay, blur, etc.
- Sync or combine multiple audio/video sources.
- Analyze media metadata (frame rate, codec, bit depth, etc.).
- Automate batch processing in pipelines via scripts.
We can't list down all the nice features it offers, but let’s start with 10 practical FFmpeg commands with examples you can drop straight into your terminal.
1. Compile an Image Sequence into a Video
Renderers like Blender's allow outputting image sequences (e.g., thousands of EXRs or PNGs) rather than single movie files. This is safer because if a render crashes, you can resume from there. The problem is that those sequences aren’t playable or easy to review.
FFmpeg can stitch all frames into a single video file in seconds to create a lightweight, shareable version of your shot:
ffmpeg -framerate 24 -i frame_%04d.png -c:v libx264 -pix_fmt yuv420p output.mp4-framerate 24- tells FFmpeg to read the sequence at 24 frames per second.-i frame_%04d.png - %04dmeans four digits padded with zeros (e.g.0001,0002…). You'll need more digits if your sequence goes above 1000 frames.-c:v libx264- encodes the video using the H.264 codec, a good default for reviews.-pix_fmt yuv420p- ensures broad compatibility (especially with media players and browsers).output.mp4- the name of the final video file.
2. Create a Quick Low-Res Review
High-res renders (4K, full-quality EXRs, or ProRes) of several Gbs are too heavy to send over Slack for feedback: you need smaller, fast-loading versions for daily reviews.
Just scale and compress a master video automatically to get a playable version without re-rendering:
ffmpeg -i output.mp4 -vf scale=960:-1 -b:v 1M review.mp4-i output.mp4- input file (your high-quality render).-vf scale=960:-1- rescales video width to 960 pixels and automatically adjusts height (-1) to keep aspect ratio.-b:v 1M- sets video bitrate to 1 megabit per second - a good low size/high speed compromise.review.mp4- output file.
3. Overlay a Logo or Watermark
Studios and freelancers often share work-in-progress files. But without a watermark, previews can be redistributed, leaked, or confused for final versions.
With a single FFmpeg command, you can overlay a studio logo, username, or “Work In Progress” tag on every frame.
ffmpeg -i input.mp4 -i logo.png -filter_complex "overlay=10:10" branded.mp4-i input.mp4- main video.-i logo.png- image to overlay (must have transparency or you’ll get a solid box).-filter_complex "overlay=10:10"- applies an overlay filter, positioning logo 10px from top-left corner.branded.mp4- result with watermark applied.
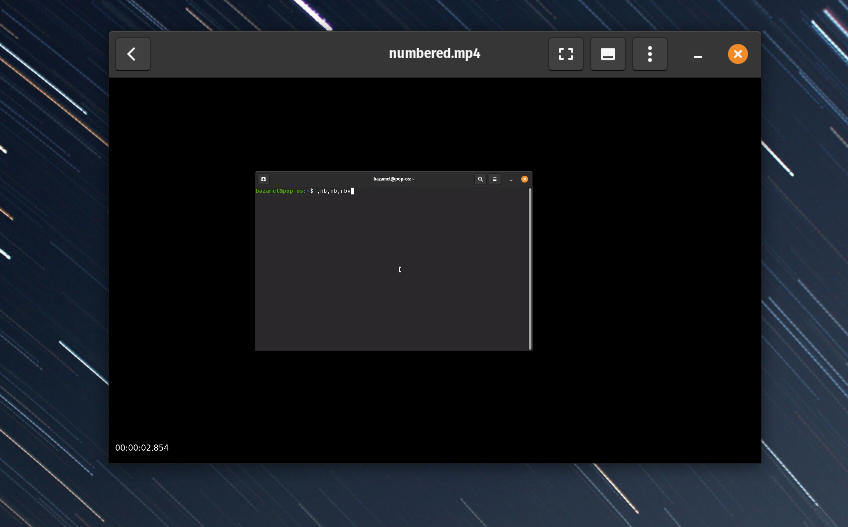
4. Burn Frame Numbers or Timecode
During client or team reviews, everyone needs to reference exact frames for notes, so unlabelled footage makes it impossible to align feedback.
FFmpeg’s drawtext filter can burn frame numbers or running timecodes into your video to provide a precise reference system, helping supervisors and animators stay synchronized during reviews.
ffmpeg -i input.mp4 -vf "drawtext=text='%{n}':x=10:y=H-th-10:fontsize=24:fontcolor=white" numbered.mp4drawtextfilter draws text on each frame.text='%{n}'- inserts frame number.x=10:y=H-th-10- places text 10px from bottom-left.fontsize,fontcolor- control look.
Or for timecode using the presentation timestamp (PTS) formatted as hours:minutes:seconds:
ffmpeg -i input.mp4 -vf "drawtext=text='%{pts\:hms}':x=10:y=H-th-10:fontsize=24:fontcolor=white" timecode.mp45. Create Looping Clips (Turntables)
When presenting 3D models or shots, you often need looping turntables for portfolios, internal libraries, or demo reels. Manually duplicating clips in an editor is tedious.
FFmpeg can loop any clip a chosen number of times with -stream_loop, creating continuous playbacks instantly without re-rendering:
ffmpeg -stream_loop 3 -i turntable.mp4 -c copy looped.mp4-stream_loop 3- plays the input 3 extra times.-i turntable.mp4- your original animation.-c copy- copies audio/video streams without re-encoding (fast, lossless).looped.mp4- final output.
6. Add Sound to a Silent Render
Renders from 3D software don’t include audio, even if your animation is synced to dialogue or music, and adding sound manually in Premiere or After Effects can be time-consuming for quick previews.
FFmpeg can merge a silent render with an audio track instantly, syncing them without a timeline-based editor.
ffmpeg -i render.mp4 -i music.wav -c:v copy -c:a aac -shortest final.mp4-i render.mp4- video input.-i music.wav- audio input.-c:v copy- keeps the existing video stream (no re-rendering).-c:a aac- encodes audio to AAC (widely supported).-shortest- stops encoding when the shorter of the two tracks ends.
7. Extract Every Nth Frame
Reviewing every single frame from a long shot is slow, especially for motion analysis, flicker detection, or checking exposure shifts. Sometimes, you just want to sample frames like one every 10 or 20.
FFmpeg’s select filter allows you to extract every nth frame automatically. It’s perfect for quick motion diagnostics, creating contact sheets, or generating thumbnails:
ffmpeg -i input.mp4 -vf "select='not(mod(n,10))',setpts=N/FRAME_RATE/TB" frames_%04d.pngselect='not(mod(n,10))'- processes only frames where the frame number n is divisible by 10 (every 10th).setpts=N/FRAME_RATE/TB- corrects timestamps so output doesn’t play back too fast.frames_%04d.png- naming pattern for extracted images.
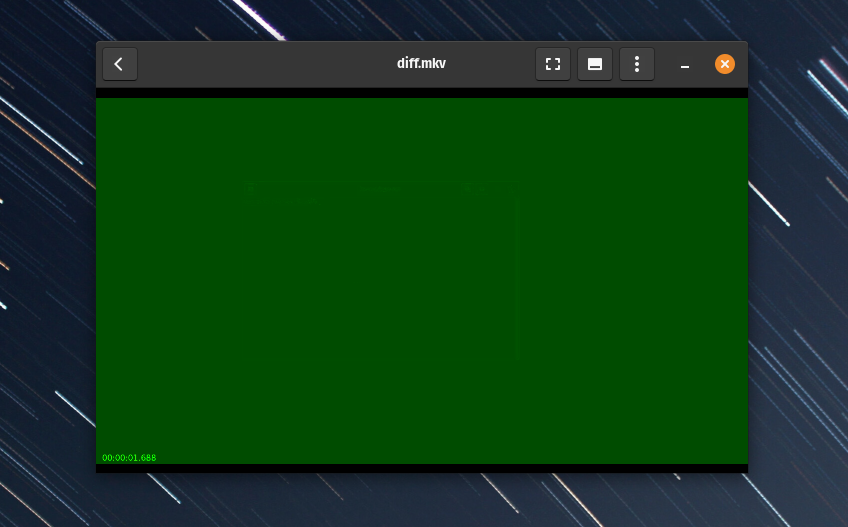
8. Compare Two Versions (A/B Diff)
When testing lighting tweaks, color corrections, or denoising updates, it’s hard to see small visual differences between two versions by eye.
FFmpeg’s blend=all_mode=difference filter subtracts one version from the other and shows differences as bright pixels. It’s a fast way to QA version changes.
ffmpeg -i old.mp4 -i new.mp4 -filter_complex "blend=all_mode=difference" diff.mp4- Two input files: old and new render.
blend=all_mode=difference- subtracts pixel values of one from the other, showing where they differ.diff.mp4- bright pixels = changes, dark = no difference.
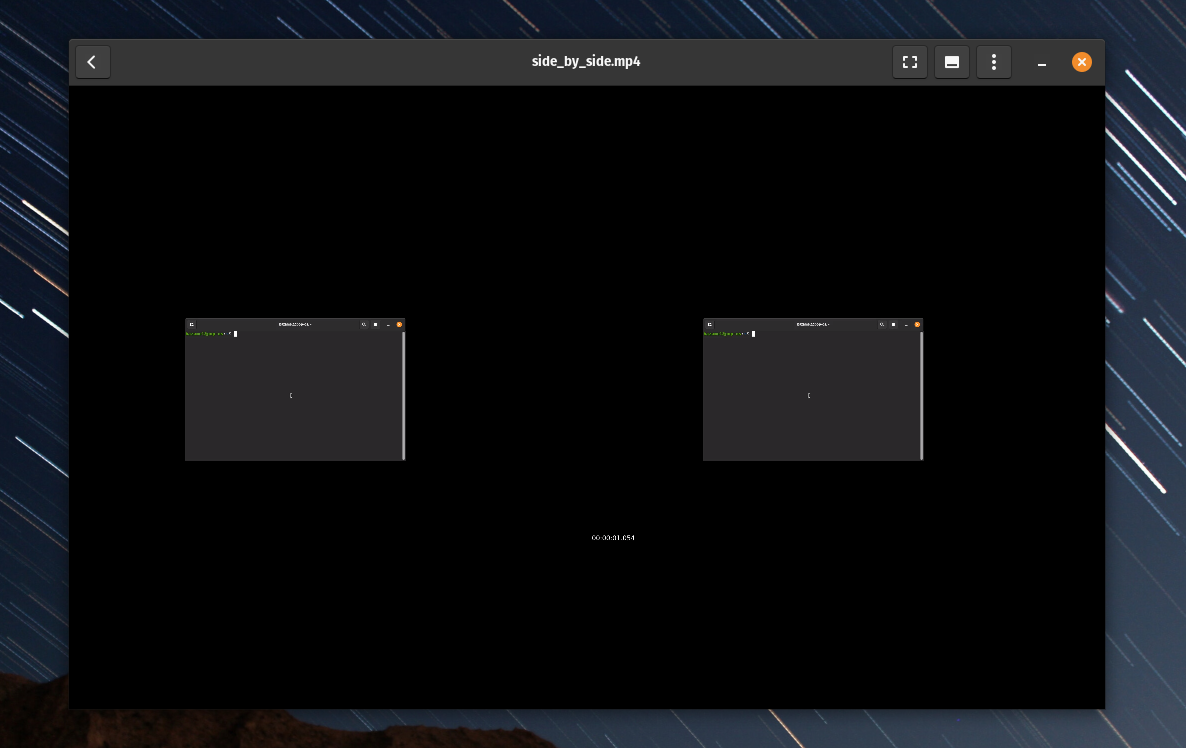
9. Combine Render Passes Side-by-Side
Artists often need to compare two passes (e.g., old vs. new). Opening them in compositing software just to compare layout or lighting is overkill.
The hstack (or vstack) filter places videos side-by-side or vertically for easy comparison. It’s perfect for review exports or before/after videos showing changes to clients or supervisors.
ffmpeg -i pass1.mp4 -i pass2.mp4 -filter_complex "hstack" side_by_side.mp4- Two input videos.
hstack- stacks them horizontally. Usevstackto stack vertically instead.side_by_side.mp4- output file.
You can also include the resulting video from the previous blend=all_mode=difference command to quickly see the differences between frames:
ffmpeg -i pass1.mp4 -i diff.mp4 -i pass2.mp4 \
-filter_complex "[0:v][1:v]hstack=inputs=2[top]; [top][2:v]hstack=inputs=2" \
side_by_side2.mp4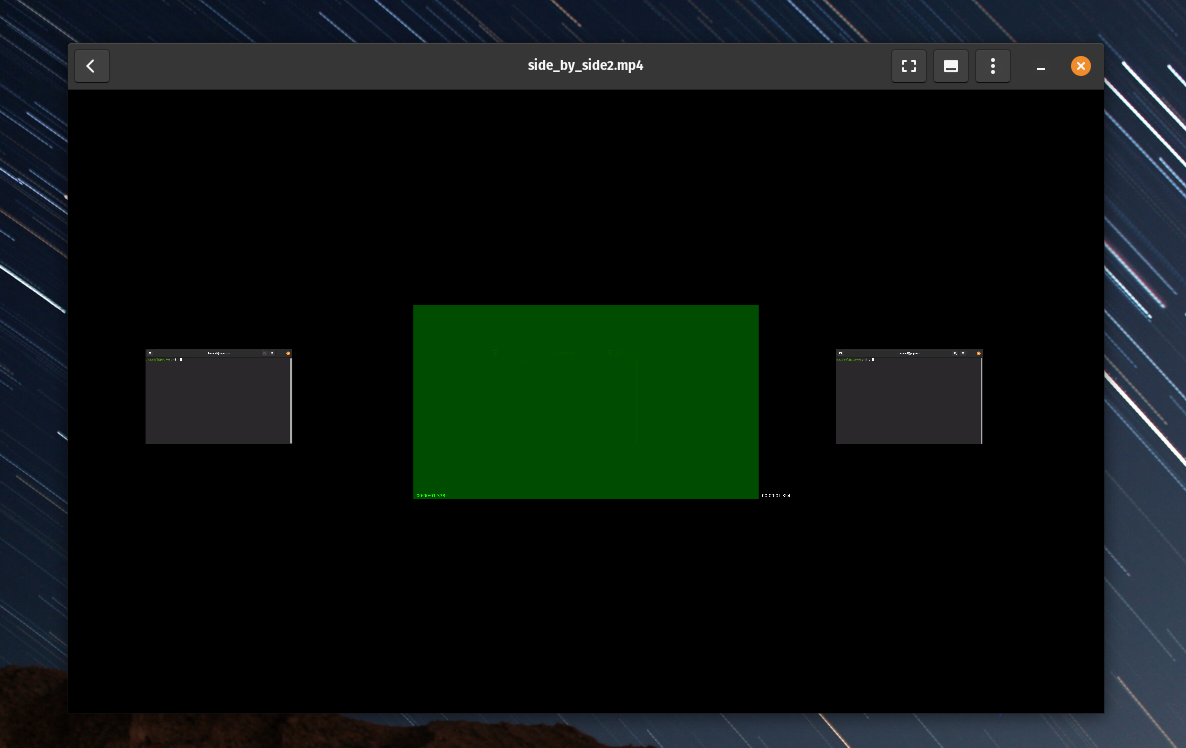
10. Re-Time Animation (Slow-Mo or Speed-Up)
Timing tweaks like previewing a slower camera move or checking a fast motion test usually require re-rendering or editing in software. That’s inefficient just to try different pacing.
FFmpeg can alter playback speed on the fly by adjusting frame timestamps to let animators preview alternate speeds instantly.
Slow down to half speed:
ffmpeg -i input.mp4 -filter:v "setpts=2.0*PTS" slowmo.mp4Speed up 2×:
ffmpeg -i input.mp4 -filter:v "setpts=0.5*PTS" fast.mp4- The
setptsfilter manipulates the presentation timestamps (PTS) of each frame. - Multiplying by 2.0 doubles playback time (slower).
- Multiplying by 0.5 halves it (faster).
Conclusion
FFmpeg isn’t just a video converter. With a few lines of text, you can automate tasks that usually take minutes or hours in traditional software: batch rendering, version comparisons, review exports... You name it.
Once you get comfortable with the syntax, FFmpeg is an extension of your creative workflow. Pick one command from this list, drop it into your next render pipeline, and watch how much smoother your daily production becomes!
But that's not all. Combine the power of ffmpeg with DCC scripts (like Blender scripting) and you'll unlock superpowers beyond human comprehension (like automating entire scene creations). Subscribe to our blog for more!