Waiting for full-resolution renders just to review a shot slows down the entire production. Artists spend time waiting and supervisors get delayed feedback. The iteration loop is inefficient.
To address this, we can create low-resolution animation previews directly in Blender and auto-upload them to Kitsu using Python as a part of our animation pipeline. These previews are fast to render, easy to review, and can be quickly used in Kitsu for approval.
This is a big deal because full-resolution renders can take hours, and the cloud storage and network bandwidth costs are no joke when you're dealing with thousands of shots. Going from 1080p to 480p can divide the size by up to 5x!
In this tutorial, we’ll cover how to:
- Adjust Blender render settings for low-resolution previews
- Automate the render process using Python
- Use
ffmpegto watermark and timestamp the video for fast contextualization - Export videos and upload them to Kitsu
By the end, you’ll have a script that saves time on shot reviews without sacrificing feedback quality.
You can find the complete source code for the example integration showcased in this guide on our GitHub:
🔗 https://github.com/cgwire/blender-kitsu-low-res-preview
1. Simple Blender Scene Setup
Before we can create an animated preview, we need a starting object in the scene. For this tutorial, we’ll use Blender’s default cube.
First, we create a reference of the scene and the cube:
import bpy

cube = bpy.data.objects["Cube"]
scene = bpy.context.scene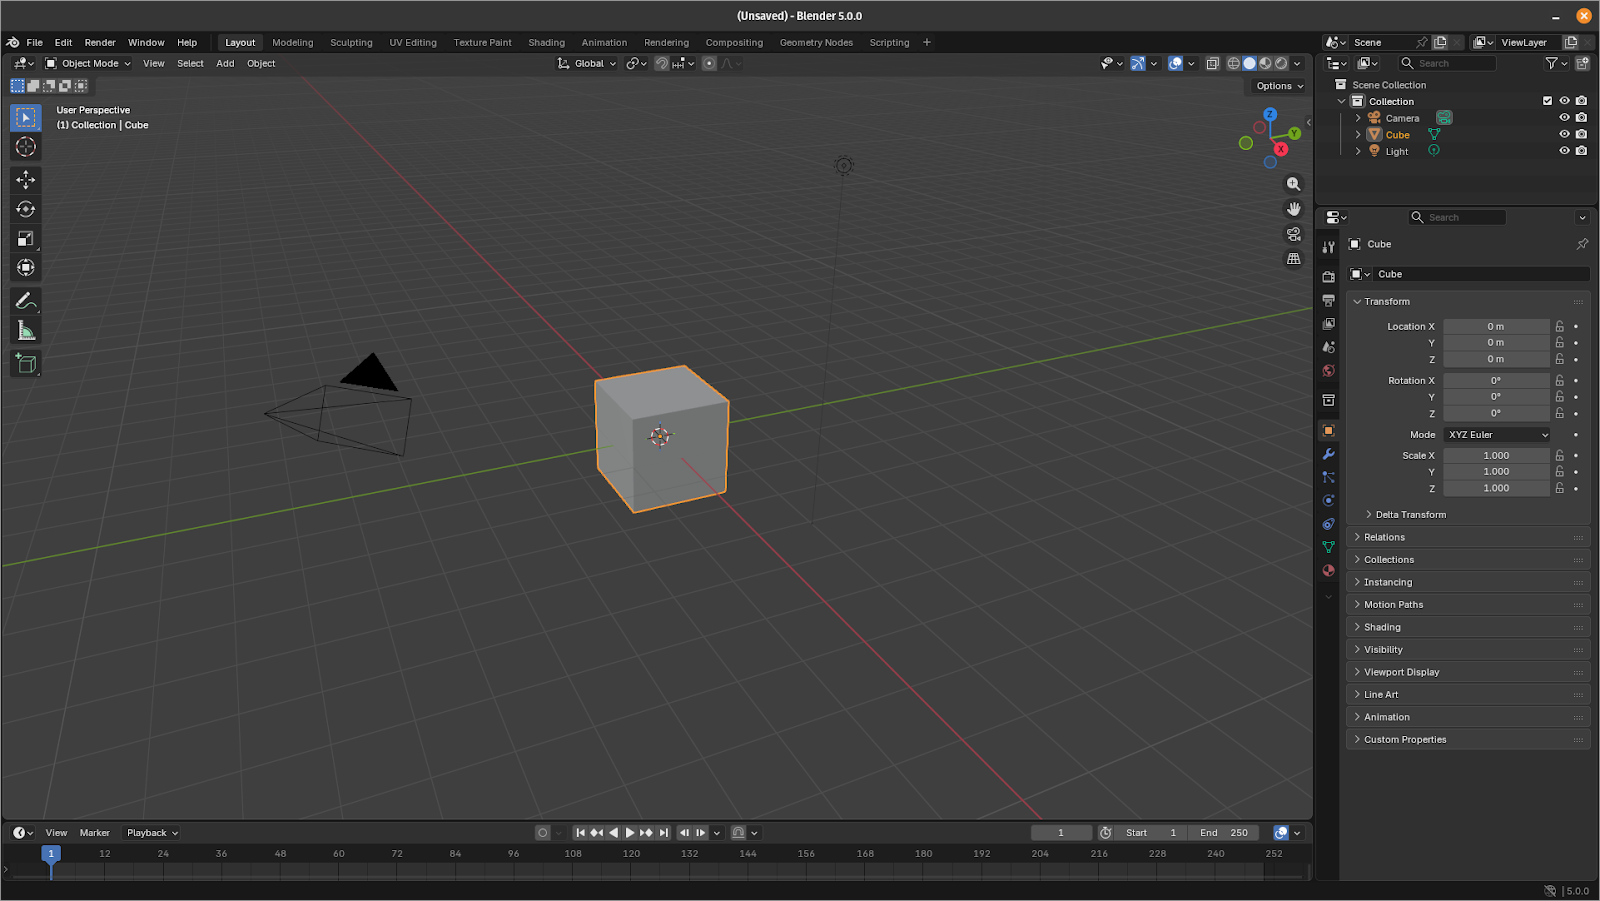
2. Adding Keyframes for Animation
The next step is animating our cube. For quick modeling previews, short sequences are ideal. Here, we’ll create a 360° rotation over 48 frames (2 seconds at 24 FPS):
for frame, angle in [(1, 0), (12, 1.57), (24, 3.14), (36, 4.71), (48, 6.28)]:
    scene.frame_set(frame)
    cube.rotation_euler[2] = angle
    cube.keyframe_insert(data_path="rotation_euler", index=2)
This loop sets keyframes at regular intervals, rotating the cube smoothly around its Z-axis by increments of pi/2. Using a small number of frames keeps rendering fast and makes it perfect for preview purposes.
At this point, you could scrub the timeline in Blender to verify the cube rotates as expected.
3. Low-Resolution Rendering
With animation in place, we can configure Blender to render a fast, low-resolution preview. The goal is speed over quality: we want something clear enough for review but quick to produce.
Here, we use the Eevee rendering engine for speed and to reduce unnecessary rendering overhead. It's much faster than Cycles because it's a simple rasterisation engine, and we don't need a hyper-realistic output in 90% of cases.
scene.render.engine = "BLENDER_EEVEE"

scene.render.resolution_x = 1920
scene.render.resolution_y = 1080
scene.render.resolution_percentage = 50

scene.render.fps = 24
scene.frame_start = 1
scene.frame_end = 48  # match your animation length

scene.render.image_settings.file_format = "FFMPEG"
scene.render.ffmpeg.format = "MPEG4"
scene.render.ffmpeg.codec = "H264"

scene.render.filepath = "//preview.mp4"
Although we go for a classic landscape resolution, reducing resolution_percentage or turning off high-quality sampling in Eevee can drastically reduce render times for previews.
The rest of the settings are pretty standard: 24 frames per second, 48 frames total, and a mp4 output video with H264 encoding (for faster compression) written in the script's current folder.
Depending on your use case, you can reduce the resolution, decrease the frame rate, and lower the bitrate to lower the size of your previews. You still need enough quality for the review process, though, so tweak the settings for an optimal balance with performance.
Finally, we can trigger the render in one line:
bpy.ops.render.render(animation=True)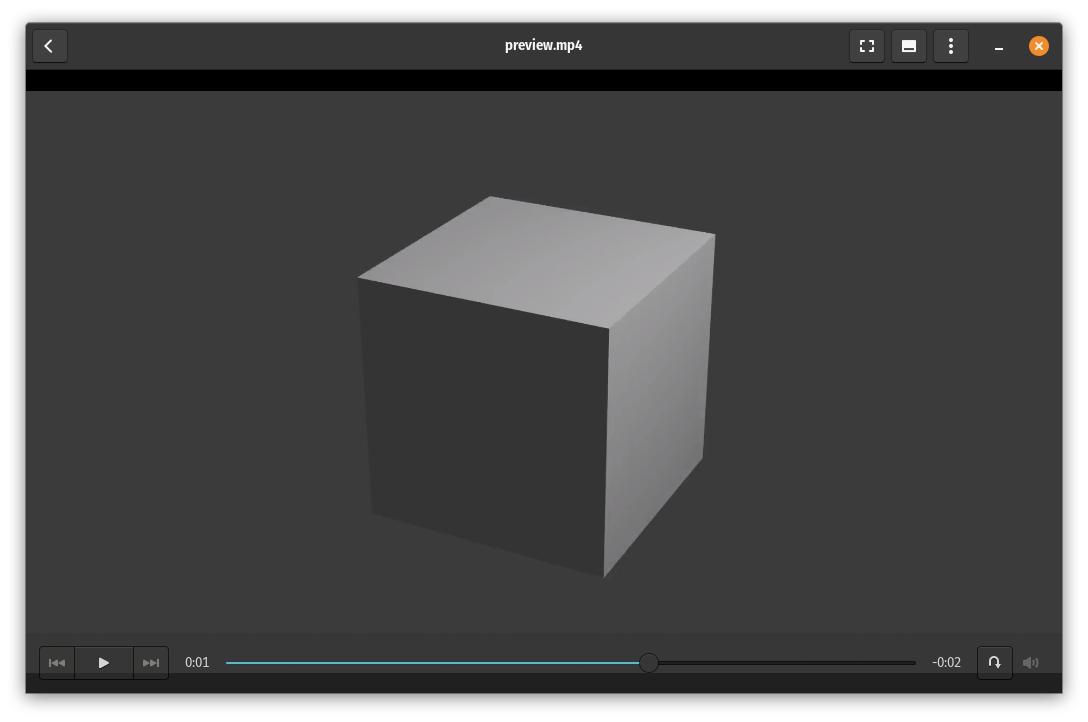
The preview video can be immediately used for review or further processed with tools like FFmpeg for timestamps, watermarks, or custom naming conventions before uploading to Kitsu.
4. FFmpeg Processing: Timestamp, Naming, Watermark
Once Blender has rendered your animation to a video file, you can further process it using FFmpeg. This is a common step in production pipelines to add timestamps, watermarks, or custom naming-making the previews ready for review.
Run the following command in a terminal after rendering your preview:
ffmpeg -framerate 24 \\\\
  -i preview.mp4 \\\\
  -i watermark.png \\\\
  -filter_complex "\\\\
    [0:v]drawtext=text='%{pts\\\\:hms}':x=10:y=10:fontsize=24:fontcolor=white:bordercolor=black:borderw=2[v1]; \\\\
    [v1][1:v]overlay=W-w-20:H-h-20" \\\\
  -c:v libx264 -crf 22 -pix_fmt yuv420p \\\\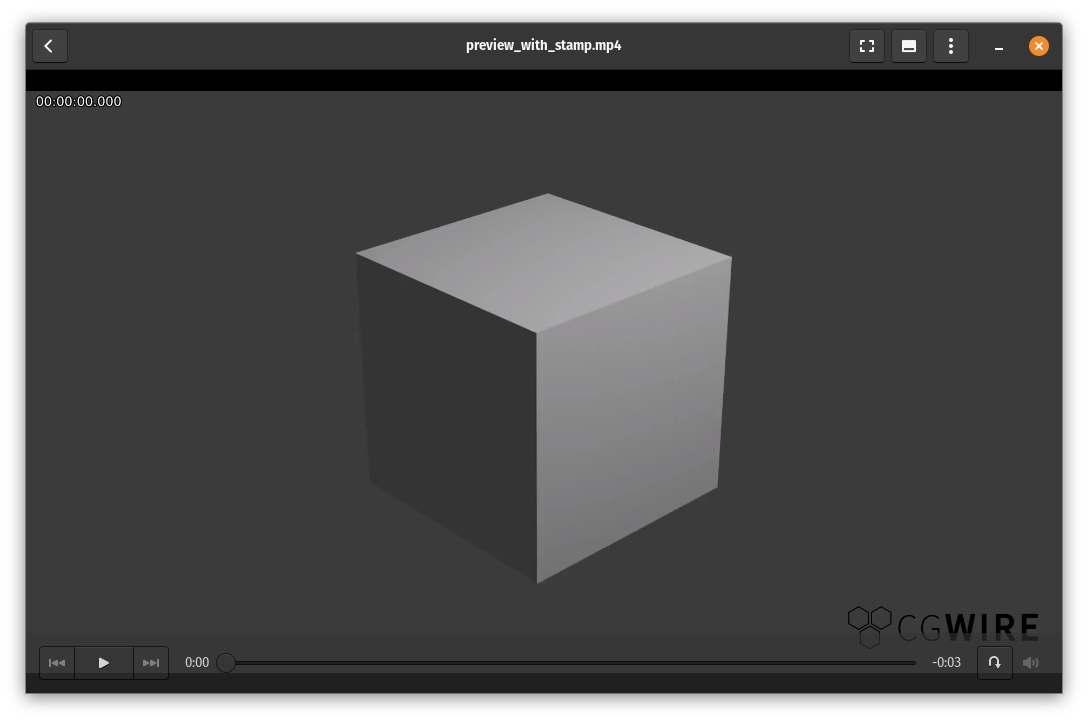
preview_with_stamp.mp4drawtextoverlays a running timestamp in the top-left corner.overlayplaces a watermark image (watermark.png) in the bottom-right corner.c:v libx264 -crf 22 -pix_fmt yuv420pensures good quality and broad compatibility for video playback.- The output file,
preview_with_stamp.mp4, is your finalised preview ready for review.
Of course, you can adjust the font size, position, or watermark placement as needed to standardise previews for your team or client reviews.
This step completes the preparation of a production-ready, low-resolution animation preview. The file is now ready to be uploaded to Kitsu for quick feedback.
5. Uploading to Kitsu via Gazu
Once your low-resolution preview is ready, you can upload it directly to Kitsu via the dashboard or use the gazu Python SDK. Kitsu is a collaborative pipeline tracker allowing artists and supervisors to access the preview immediately for review.
The following Python script provides a simple interactive CLI that lets you choose the project and task to upload your preview to:
import gazu

def pickProject(label, list_of_items):
    """Helper UI to pick one item from a list."""
    for i, item in enumerate(list_of_items):
        print(f"{i + 1}. {item['name']}")
    idx = int(input(f"Choose {label} number: ")) - 1
    return list_of_items[idx]

def pickTask(label, list_of_items):
    """Helper UI to pick one item from a list."""
    for i, item in enumerate(list_of_items):
        asset = gazu.entity.get_entity(item["entity_id"])
        status = gazu.task.get_task_status(item["task_status_id"])
        type = gazu.task.get_task_type(item["task_type_id"])

        print(f"{i + 1}. {asset['name']} {type['name']} {status['name']}")
    idx = int(input(f"Choose {label} number: ")) - 1
    return list_of_items[idx]

gazu.set_host("<http://localhost/api>")
user = gazu.log_in("admin@example.com", "mysecretpassword")

projects = gazu.project.all_projects()
project = pickProject("project", projects)

tasks = gazu.task.all_tasks_for_project(project)
task = pickTask("task", tasks)

print("Uploading preview...")
task_status = gazu.task.get_task_status_by_name("todo")
result = gazu.task.publish_preview(
    task,
    task_status,
    comment="Auto-generated preview",
    preview_file_path="./preview.mp4",
)

print("Done:", result)
First, we log in to Kitsu via gazu with your credentials. We use the local development environment installation via Kitsu Docker. The program lets you select the project and task from available options using different Kitsu API endpoints to get all your production data:
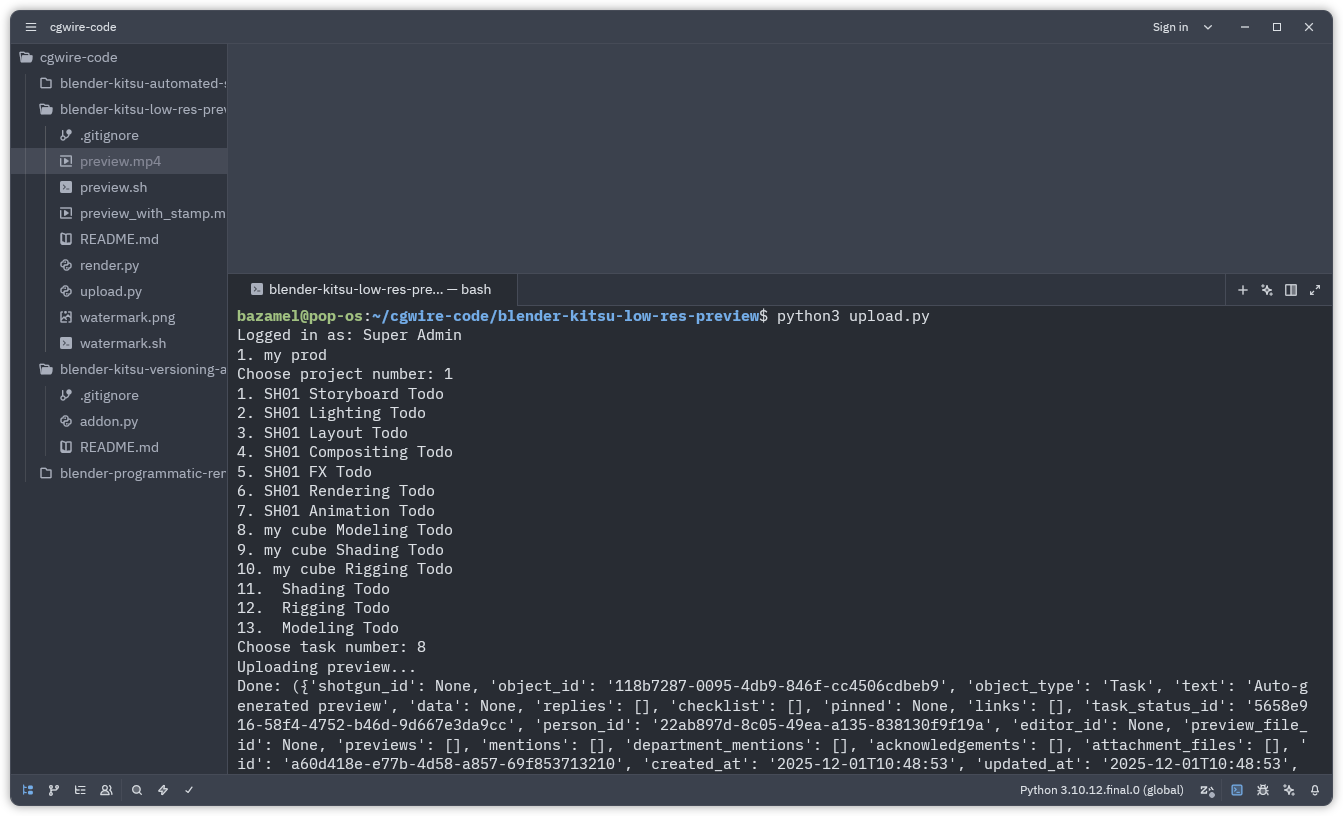
We then upload the generated preview video from the previous steps to the selected task.
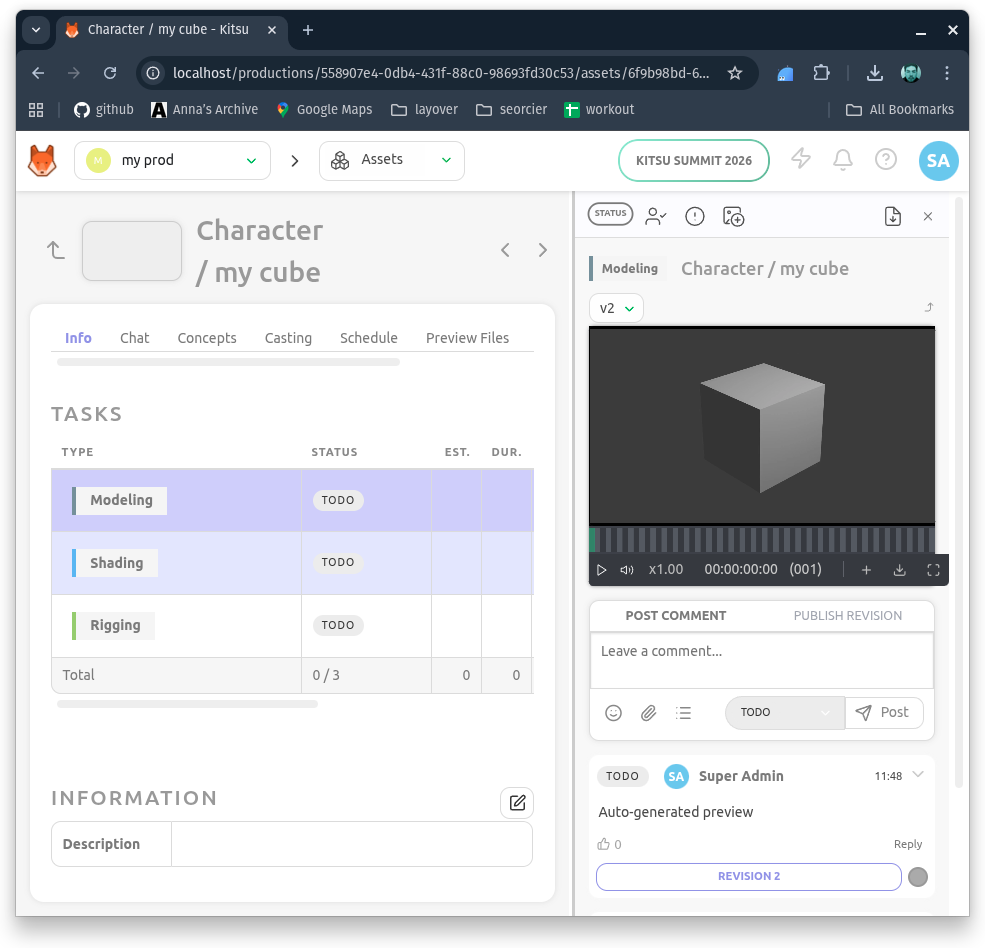
Once complete, the preview is available in Kitsu’s review interface, making it easy for team members and supervisors to give feedback without waiting for high-resolution renders.
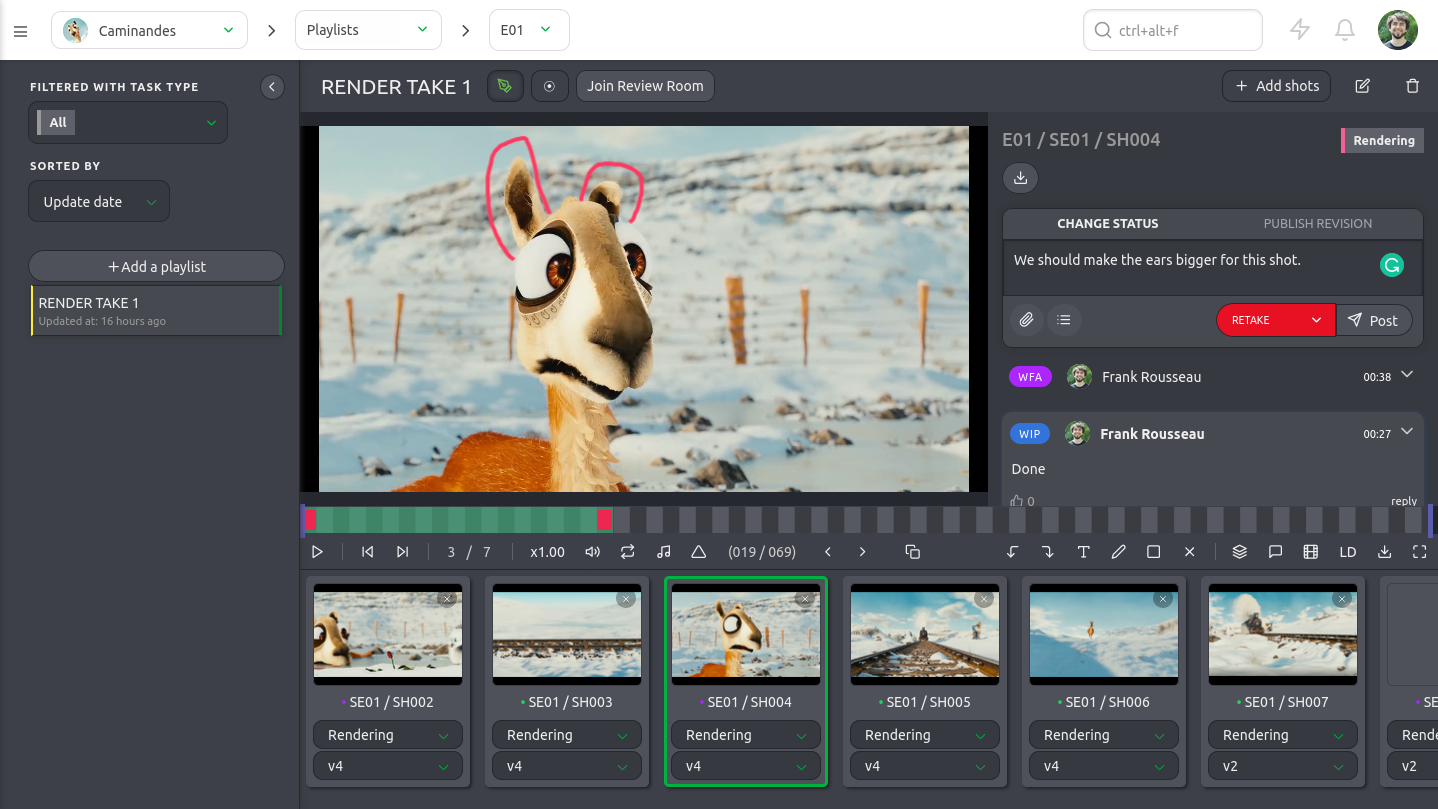
The review engine is perfect to quickly annotate frames and add comments on precise shots:
6. Putting it all together
To automate the task end-to-end, let's write a quick bash command:
preview.sh
python3 render.py && ./watermark.sh && python3 upload.pyWe can then run the script every time we need to share a preview:
./preview.shCheck out our Github repository blender-kitsu-low-res-preview to try out the final result yourself.
7. Artist-Friendly Addon Overview
Though this is out of the scope of this article, it could be easy to wrap up our code in a Blender addon for artists to easily use.
You would need a main panel to hold dropdown menus to pick a production, asset, and task to upload to. And a button to click to upload. The uploading logic would take care of rendering, calling ffmpeg as a subprocess for watermarking, and actually sending the temporary files to Kitsu.
Have a look at our article on Blender Add-on UI Development for more information.
Conclusion
By now, you’ve set up a full pipeline: creating a simple 3D object in Blender, animating it, generating a low-resolution preview, adding timestamps and watermarks, and uploading it to Kitsu. The benefits are immediately clear:
- Faster reviews - Supervisors and team members can watch previews immediately without waiting for full-resolution renders.
- Quicker iterations - Artists get feedback faster, which shortens the iteration loop and reduces bottlenecks.
- Fewer blockers - Automated previews and uploads eliminate repetitive manual steps in the pipeline to keep deliverables consistent.
What used to take an hour of manual work can now be handled with a few scripts, giving the team more time to focus on the creative side of production instead of repetitive tasks.
You can take this workflow even further depending on your animation studio's needs: add buttons or panels in Blender to run the entire pipeline with one click, automatically batch-generate previews for multiple shots or scenes in a single script, etc.