Blender’s graphical user interface is no doubt amazing, but there are always some tasks that feel like a grind: sharing previews with the team, tweaking endless settings in a new project, or doing the same steps over and over. Sometimes, you just wish there was a button that just did the thing, and scripting is how you unlock it!
In this article, we’ll crack open Blender’s scripting feature using the Python programming language. You’ll learn how to write your first script, how to run it, and how Blender’s scripting modules are organized. By the end, you’ll have a good understanding of how to start optimizing your production pipeline.
What Can I Do With Scripting?
Blender scripting isn’t just a neat trick for hobbyists: it’s a necessity for studios of every size.
In production, speed and consistency are everything. Studios constantly face tight deadlines, large asset libraries, and the need to keep dozens of shots and scenes perfectly in sync across workstations. Doing that by hand is slow, error-prone, and expensive: that’s why automation is such a big deal!
Scripting isn’t about writing code, it’s about giving yourself creative shortcuts and superpowers. With Python, you can automate the boring, repetitive tasks that eat up your time, or generate procedural geometry, materials, and even entire environments in just a few lines. You can design your own tools and menus tailored to your workflow, and take full control over scenes, render settings, cameras, and lights. Scripting even lets you connect Blender with external tools or APIs, making it a powerful part of larger pipelines.
Prerequisites
Before diving in, make sure you have the following:
- Blender - Download and install the latest version from blender.org.
- Python - You'll need the Python programming language to use Blender's native scripting modules and run programs from your operating system's terminal.
You can find the complete source code for the example integration showcased in this guide on our GitHub:
🔗 https://github.com/cgwire/intro-blender-scripting
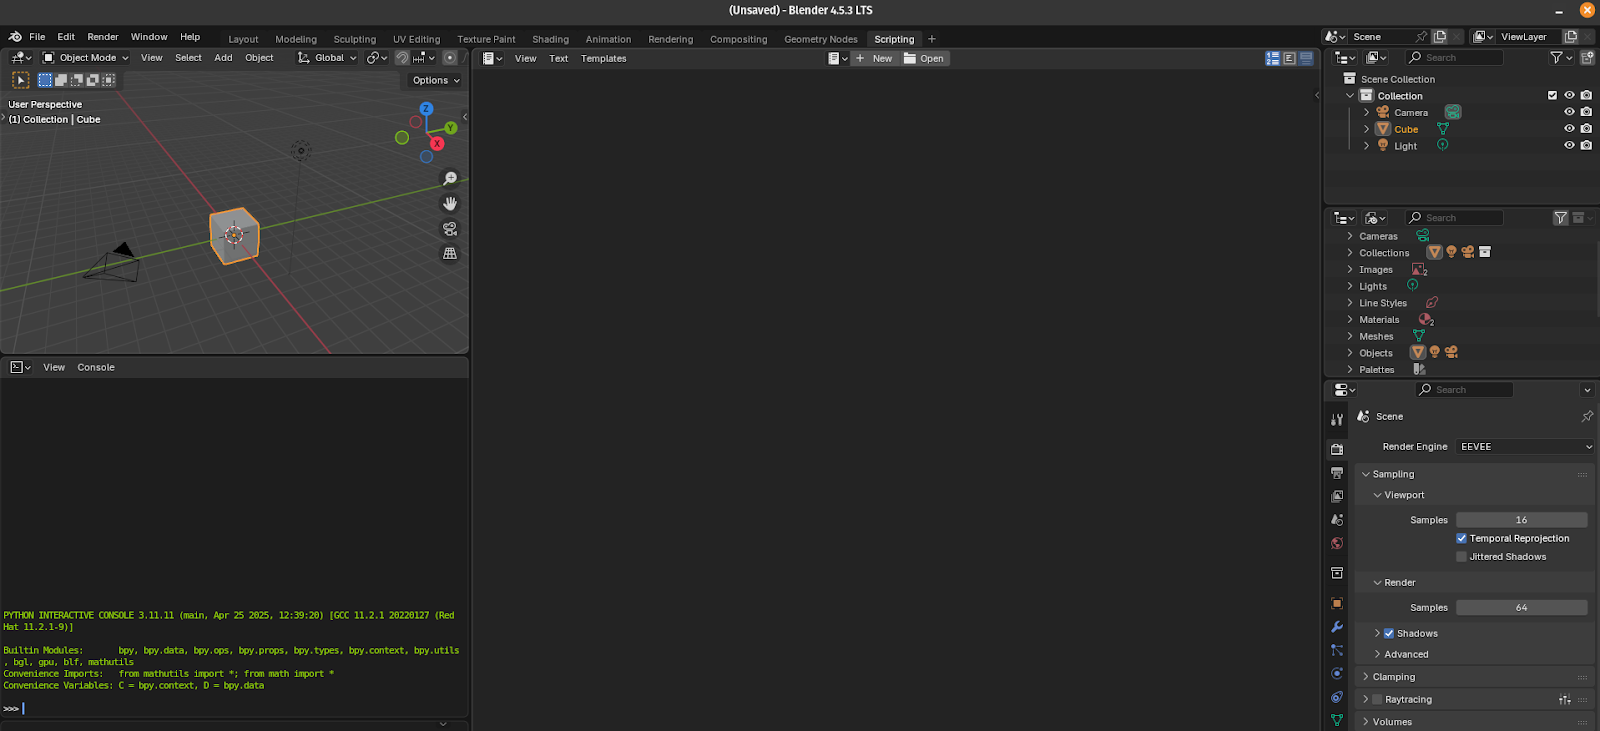
1. Create a New Script
Inside Blender, open the Scripting workspace. You’ll see a text editor panel where you can create a new script by clicking New. This is where you can write your Python code, and it's particularly useful to see results in real-time:
For a production pipeline, it's usually more useful to run a script from the command line interface. Fortunately, Python now ships Blender modules. In this tutorial, we'll run a Python program directly from the OS terminal to avoid the extra steps of navigating the graphical user interface, so the first step is to install the required Blender module:
pip install bpy==3.6.0 --extra-index-url <https://download.blender.org/pypi/>As a test, let's create a new empty Blender file using Python:
import bpy

bpy.ops.wm.save_as_mainfile(filepath="./new_empty_file.blend")
First, we import Blender’s Python API module bpy, which lets us control almost everything in Blender (objects, materials, rendering, etc.). Then, we save the current workspace in a new file.
We can run the program in the terminal like so:
python3 script.pyWe can also open the newly created file with the Blender CLI:
blender new_empty_file.blendCongrats! You completed your first script. Now, let's get to a more useful example: generating 3D text.
2. Hello World Text Example
Imagine you want to create a Star Wars intro animation. You know, the one with text slowly scrolling up at an angle:

How would you do this efficiently to make it easy to edit? By using a script, of course! So let's try a simple example and generate some 3D text.
We create a new file and delete all objects in the scene to start clean:
import bpy

bpy.ops.object.select_all(action='SELECT')
bpy.ops.object.delete(use_global=False)bpy.ops.object.select_all(action='SELECT'): Selects all objects currently in the scene.bpy.ops.object.delete(use_global=False): Deletes all selected objects.
Just two instructions are needed to add a new text object to the scene:
bpy.ops.object.text_add(enter_editmode=False, location=(0, 0, 0))
text_obj = bpy.context.objectbpy.ops.object.text_add(...): Adds a new Text object at the location(0, 0, 0)in the 3D world (XYZ coordinates).text_obj = bpy.context.object: Stores a reference to the newly created text object in the variabletext_obj. Whenever you add something new, Blender makes it the active object, which you can access viabpy.context.object.
Let's change the text string to "Hello World":
text_obj.data.body = "Hello World"text_obj.datarefers to the Text DataBlock, the actual content or settings of the text object..body = "Hello World"sets the displayed string to “Hello World”.
We can then adjust some text settings to give the text a little thickness and center it on the x and y axes:
text_obj.data.extrude = 0.05
text_obj.data.align_x = 'CENTER'
text_obj.data.align_y = 'CENTER'
extrude = 0.05: Gives the text depth, turning it from flat 2D text into slightly extruded 3D text.align_x = 'CENTER': Horizontally centers the text.align_y = 'CENTER': Vertically centers the text.
You can find more options by reading the documentation on Blender’s text object properties.
Last but not least, we can rotate the text so it faces the camera instead of lying flat on the ground, since Blender text defaults to lying flat on the XY plane:
text_obj.rotation_euler[0] = 1.5708 # 90 degrees in radiansrotation_euler[0]: Refers to the rotation around the X-axis.1.5708radians ≈ 90 degrees.
We can save the result using the previously mentioned instruction:
bpy.ops.wm.save_as_mainfile(filepath="./text.blend")To sum up, this is what our final code looks like:
import bpy

bpy.ops.object.select_all(action='SELECT')
bpy.ops.object.delete(use_global=False)

bpy.ops.object.text_add(enter_editmode=False, location=(0, 0, 0))
text_obj = bpy.context.object

text_obj.data.body = "Hello World"

text_obj.data.extrude = 0.05
text_obj.data.align_x = 'CENTER'
text_obj.data.align_y = 'CENTER'

text_obj.rotation_euler[0] = 1.5708

bpy.ops.wm.save_as_mainfile(filepath="./text.blend")
3. How to Run a Script (Script Loading)
As previously mentioned, the syntax to run a script in headless mode is simply like any Python program:
python3 text.pyAnd that's it! You’ve just run your first useful Blender script. It's super useful for automation, pipelines, or batch processing.
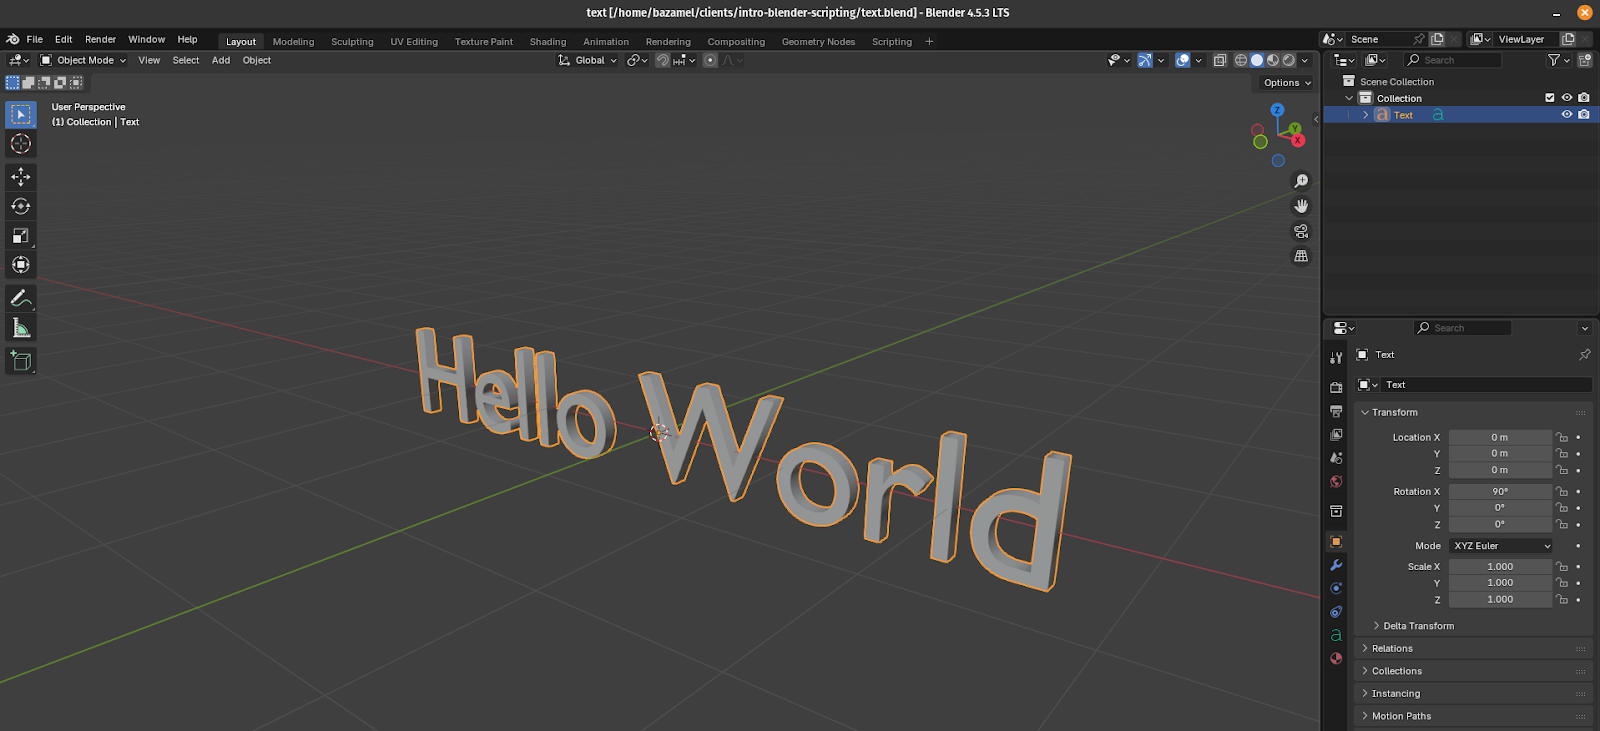
Just open the text.blend file and see the result:
You can also open a specific .blend file and run the script inside that context:
bpy.ops.wm.open_mainfile(filepath='my_scene.blend')This loads my_scene.blend first, then runs the rest of the script on it.
Sometimes, you want to send custom arguments:
python3 args.py – --text "CLI Hello"Inside args.py, you can access these arguments like this:
import sys

argv = sys.argv
argv = argv[argv.index("--") + 1:]  # get args after --

print("Custom args:", argv)
That's it for the basics, but you still have a lot to discover.
4. Scripting Modules Explained
Blender exposes its scripting features through different modules. Understanding what each module does helps you define what you can script and how to search the documentation to code it.
First, you have the core bpy modules:
bpy.context(Context Access) - Provides information about Blender’s current state (active object, scene, mode, selected objects, etc.), e.g.,bpy.context.objectgets the active object.bpy.data(Data Access) - Gives direct access to Blender’s datablocks such as meshes, objects, materials, and cameras. Example:bpy.data.objects["Cube"]gets the Cube object.bpy.msgbus(Message Bus) - A pub/sub system for listening to changes in Blender’s data and triggering callbacks like subscribing to frame-change events.bpy.ops(Operators) - Exposes functions that mimic UI actions like adding objects, deleting, or rendering. Example:bpy.ops.mesh.primitive_cube_add()adds a cube.bpy.types(Types) - Defines the core classes of Blender’s data (e.g.,Object,Mesh,Material) for extension and customization, to create custom panels or operators.bpy.utils(Utilities) - Provides helper functions for class registration, add-on handling, and system path access, e.g.,bpy.utils.register_class(MyOperator).bpy.path(Path Utilities) - Tools for handling file paths, including resolving relative paths and creating absolute paths, e.g.,bpy.path.abspath("//textures/wood.png").bpy.app(Application Data) - Provides information about Blender itself like version, build details, and runtime mode. Example:bpy.app.versionreturns(3, 6, 2).bpy.props(Property Definitions) - Used to define custom properties like numbers, strings, and enums for operators, panels, or addons, e.g.,my_prop: bpy.props.IntProperty(name="My Number").
Then, you can find more specialized libraries:
aud(Audio System) - Blender’s audio library for playing sounds, loading files, and mixing audio. Example: play a .wav file directly in Blender with Python.bgl(OpenGL Wrapper) - Low-level OpenGL wrapper for custom 3D viewport drawing (being replaced bygpu). To draw custom overlays, for example.bl_math(Additional Math Functions) - Extra math helpers for interpolation, distance calculations, and geometry operations, like computing distances between points.blf(Font Drawing) - Blender’s font drawing module for rendering text in viewport overlays or panels, e.g.,blf.draw(font_id, "Hello World").bmesh(BMesh Module) - Provides direct low-level access to Blender’s mesh editing system for procedural modeling and topology operations. Example: creating or modifying vertices and faces in edit mode.bpy_extras(Extra Utilities) - Contains helper functions like import/export support, math conversions, and view3d utilities, e.g., simplifying coordinate conversions.freestyle(Freestyle Module) - Controls Blender’s Freestyle line rendering for non-photorealistic edge rendering. Example: adjusting line styles or visibility rules.gpu(GPU Module) - Modern GPU drawing API that allows custom shaders and viewport overlays (successor tobgl). Example: rendering with custom GLSL shaders.gpu_extras(GPU Utilities) - Helper functions for GPU drawing, simplifying shape rendering without full GLSL code, e.g., drawing a simple rectangle.idprop.types(ID Property Access) - Provides structured access to Blender’s custom ID properties in dictionary/array form. For example, to manipulate custom metadata on objects.imbuf(Image Buffer) - Handles image buffers, enabling loading, saving, and pixel-level manipulation, e.g., procedural image generation.mathutils(Math Types & Utilities) - Blender’s math library offeringVector,Matrix,Quaternion, and geometric utilities, e.g.,Vector((1,0,0)).cross(Vector((0,1,0))) → (0,0,1).
Conclusion
Blender scripting with Python is one of the most powerful ways to extend and personalize your workflow.
In this article, we explored how to create and run scripts, print your very first "Hello World" in the 3D world, and use the bpy module to make Blender do exactly what you want.
At first glance, scripting might feel intimidating, but as you’ve seen, even a handful of lines can open doors to entirely new possibilities!
Now, it’s your turn. Automate the boring stuff or craft tools from scratch for your studio pipeline. You can do it!