Artists rely on Digital Content Creation (DCC) tools like Blender, Maya, or Houdini to bring stories to life.
But while the creative work happens inside these tools, production tracking happens elsewhere. This disconnect can lead to version mismatches, time lost in repetitive manual uploads, and eventually less time spent creating. Without a smooth connection between the DCC software and your production tracker, your pipeline suffers.
That’s where custom integrations come in.
In this article, we walk through the basics of creating a Blender integration in Kitsu similar to Kitsu Publisher to publish 3D model previews from Blender to Kitsu.
What’s a DCC Integration?
A DCC integration is a bridge between a creative software and another software tool, like a production tracker.
For example, instead of exporting files, navigating to a web browser, and manually uploading versions, an integration could allow artists to publish directly from their tool of choice.
Integrations can handle tasks like managing complex rendering pipelines, managing asset storage and versioning, or generating preview images: they automate the boring parts of production so artists can focus on telling stories.
Why DCC Integration?
Every studio eventually hits the same bottleneck: as projects grow, manual processes break down.
Integrations save time because they remove context switching between software.
They also reduce errors by standardizing repetitive tasks like delivering outputs by enforcing naming conventions, formats, and metadata consistency.
Last but not least, they improve project management and communication by giving supervisors and producers real-time updates.
All professional animation studios rely on a pipeline, and DCC integrations are essential.
To give you a concrete example, let's try building a script integration that uploads a preview from Blender to Kitsu to easily review work with your team.
1. Getting Started
You can find the complete source code for the example Blender–Kitsu integration showcased in this guide on our GitHub:
🔗 github.com/cgwire/blender-kitsu-dcc-integration-example
Before we dive into scripting, let’s set up a local Kitsu instance where we can safely test our integration.
The easiest way to run Kitsu locally is by using the kitsu-docker repository. Clone the repository to your machine and follow the instructions:
git clone <https://github.com/cgwire/kitsu-docker.git>
cd kitsu-docker
docker build -t cgwire/cgwire .
docker run --init -ti --rm -p 80:80 -p 1080:1080 --name cgwire cgwire/cgwire
This will start all necessary services: Kitsu, the postgres database, and supporting components.
Once the containers are running, open http://localhost:80 in your browser. Use the default credentials:
- Email: admin@example.com
- Password: mysecretpassword
You’ll be taken to the Kitsu dashboard.
Before we can upload previews, we need something to upload them to. In Kitsu:
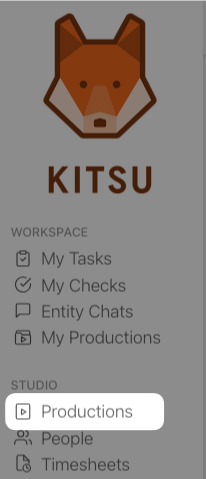
- Create a new production (e.g., Blender Test Project) by going to the "Productions" page from the sidebar.

- Inside the production, create an asset.
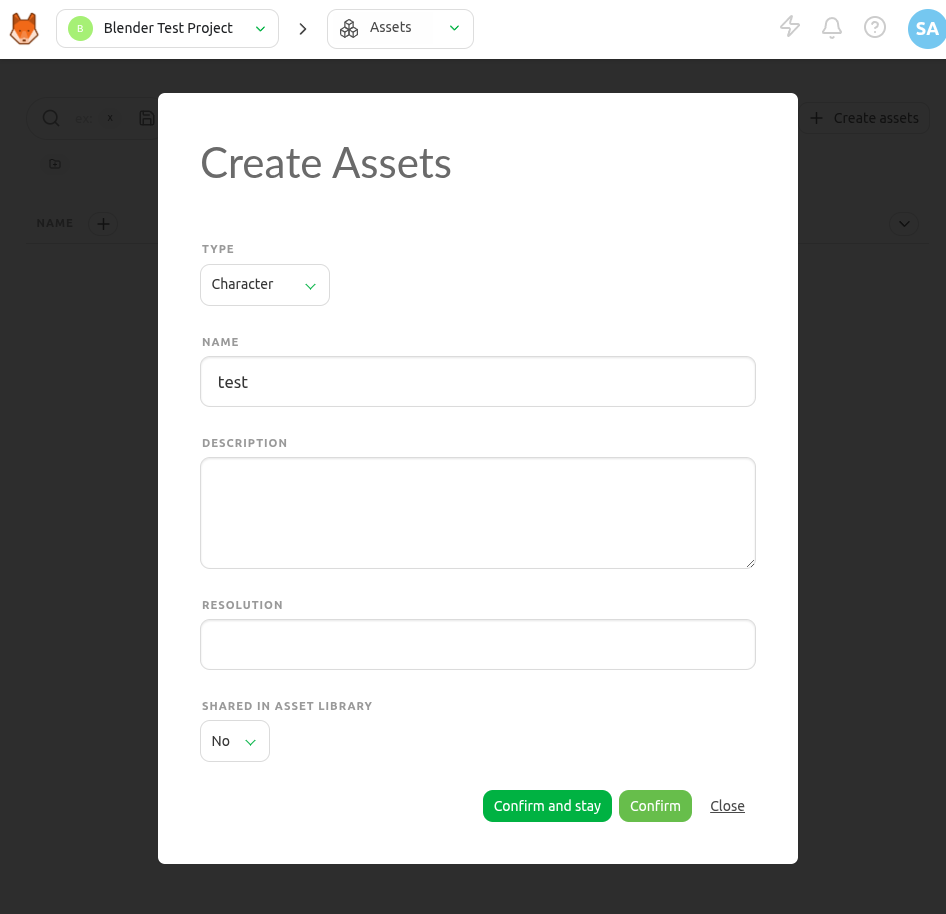
- Creating an asset automatically adds new tasks for all the selected task categories during the production creation. We can use those to upload previews.
To interact with Kitsu programmatically, we use gazu, the official Python client for the Kitsu API. It allows us to authenticate, create entities, and upload previews directly from scripts.
Install it with:
pip install gazuNext, authenticate with your Kitsu instance using your username and password:
import gazu

gazu.set_host("<http://localhost/api>")

user = gazu.log_in("admin@example.com", "mysecretpassword")

print("Logged in as:", user['user']['full_name'])
Once logged in, we can use gazu to fetch productions, assets, and tasks, then attach media files to them.
2. Creating a preview from Blender
Producing a preview render is a common use case for animators. You need to get regular feedback throughout the production phase, and a preview is easier to reason with than importing an entire project.
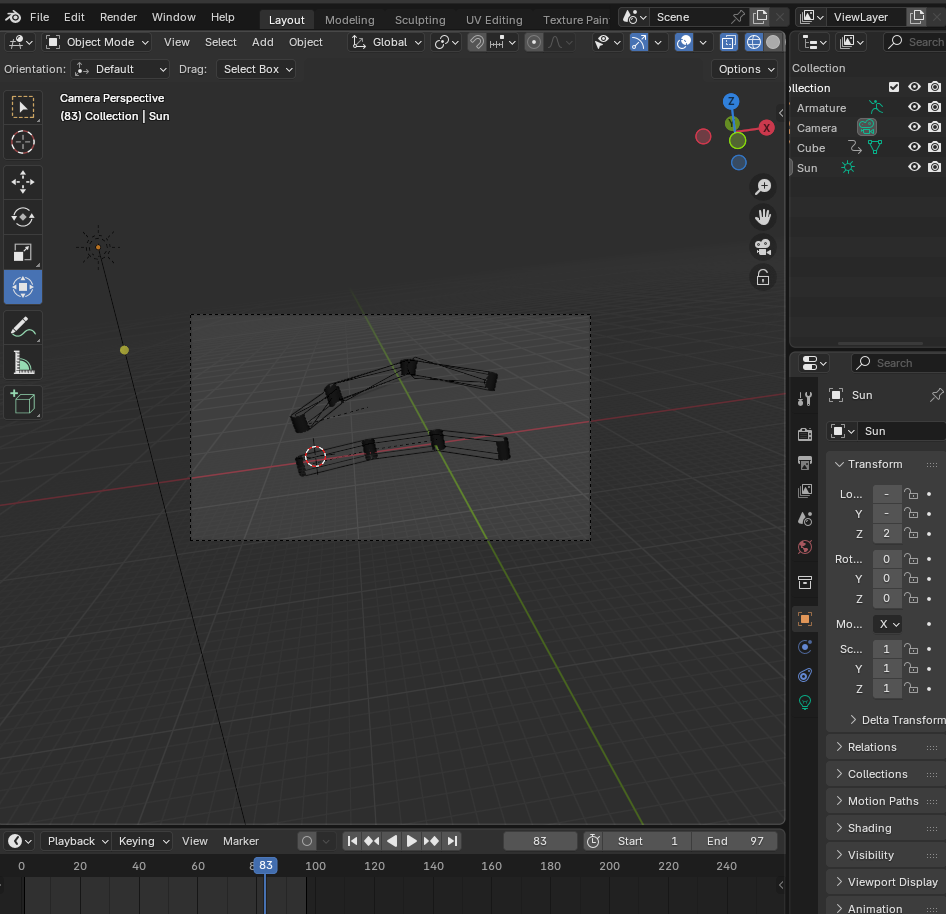
You can automate this with Blender’s Python API by setting up a viewport capture to render a single frame, saving the output to a temporary folder, and applying studio-wide render settings (resolution, format, watermarking):
import bpy

bpy.ops.wm.open_mainfile(filepath="./project.blend")

bpy.context.scene.render.resolution_x = 256
bpy.context.scene.render.resolution_y = 256
bpy.context.scene.render.resolution_percentage = 100

bpy.context.scene.render.image_settings.file_format = 'PNG'
bpy.context.scene.render.filepath = "./preview.png"

bpy.ops.render.render(write_still=True)
import bpy: Import Blender’s Python API- b
py.ops.wm.open_mainfile(filepath="./project.blend"): Opens an existing Blender project file calledproject.blend bpy.context.scene.render.resolution_x = 256 [...]We configure the render resolution to 256 pixels by 256 pixels with no downscale.bpy.context.scene.render.image_settings.file_format = 'PNG': Set the output format to PNG and define the output path topreview.pngbefore executing a still render of the scene.
This script gives you a lightweight preview file that’s easy to store in Kitsu and quick for supervisors to review.
To run it, just install the bpy package and launch the program like you would for any other python script:
python3 preview.py
3. Uploading a preview to Kitsu
With the preview file ready, the final step is pushing the data into Kitsu with gazu.
First, we retrieve the task we previously created:
projects = gazu.project.all_projects()

assets = gazu.asset.all_assets_for_project(projects[0])

tasks = gazu.task.all_tasks_for_asset(assets[0])
task_status = gazu.task.get_task_status_by_short_name("todo")
To do so, we get a list of all available projects, then the assets of our newly created project, and finally the tasks assigned to this asset.
We publish a comment for the task while linking the preview file to it:
(comment, preview_file) = gazu.task.publish_preview(
 tasks[0],
 task_status,
    comment="upload preview",
    preview_file_path="./preview.png"
)
And run the script:
python3 upload.pyOnce uploaded, the file becomes instantly available in Kitsu’s web interface. Supervisors can review it, leave feedback, and mark statuses—all without any manual file juggling from the artist.

4. Distribution
Once your script is working, you have a few options for how to use or share it:
- Run it directly in Blender - Open the Scripting workspace and execute the script from there.
- Run it from the command line - Just like we did earlier, you can run your script from the terminal like you would for any Python program.
- Package it as an add-on - This allows you to enable it from Blender’s preferences and even design a custom user interface for easier access.
Creating a full add-on with its own UI is a must for sharing integrations with artists, but it's a much bigger topic we won’t cover here. If you’d like to dive deeper, check out the official Blender add-on tutorial. And stay tuned, we’ll be covering this in more detail in a future post!
Conclusion
DCC pipeline integrations are foundational for efficient animation studios: by connecting tools like Blender directly with Kitsu, you reduce friction, improve communication, and make life easier for both artists and production managers.
You don’t need a massive pipeline team to see the benefits of integrations. Even a small studio can start simple, automate a few pain points, and scale up over time as needed.
Check out the Kitsu Publisher documentation for a production-ready DCC integration solution for Blender, Toon Boom Harmony, and Unreal Engine!